Ultimate Beginner’s Guide to Building Your Own Custom Desktop PC
This comprehensive guide walks beginners through every step of building a custom desktop PC, from selecting compatible components to assembly and software installation. Whether for gaming, work, or everyday use, learn how to create a reliable, high-performance machine tailored to your needs, with easy-to-follow instructions and expert tips to ensure success.

Ultimate Beginner’s Guide to Building Your Own Custom Desktop PC
Embarking on the journey to build your own desktop computer can initially seem like a daunting task, especially to those new to tech assembly. However, with proper guidance and a clear plan, creating a personalized, high-performance PC is an achievable and rewarding project. Whether your goal is gaming, professional work, or general use, knowing how to select compatible components and assemble them correctly empowers you to customize a machine that precisely fits your needs. This comprehensive guide aims to transform your understanding of desktop PC building from confusion into confidence.
When starting out, the most important step is choosing the right components. Compatibility is key—each part must work seamlessly with the others. Consulting online resources, video tutorials, and seeking advice from tech-savvy friends can significantly ease this process. We'll walk you through every essential stage, from selecting the hardware to installing the operating system, ensuring you're well-equipped to successfully build your own desktop computer.
Selecting High-Quality, Compatible Components for Your Desktop PC
The core elements of any custom desktop are the CPU, motherboard, RAM, storage, graphics card, power supply, and case. Understanding each component's role and how they interact is crucial for creating a balanced system.
The Central Processing Unit (CPU): Often regarded as the brain of the computer, the CPU handles all processing tasks. When choosing a CPU, consider your primary use case—gaming, creative work, or general tasks. Options include Intel and AMD processors, each offering various models suitable for different budgets and performance needs. For high-end gaming and professional tasks, seek CPUs with higher core counts and faster clock speeds.
The Motherboard: This is the foundation of your build, connecting all components. Motherboards come in sizes such as ATX or microATX, and must be compatible with your chosen CPU socket and RAM type. Make sure the motherboard has enough PCIe slots for your graphics card and other expansion cards. Features like multiple M.2 slots are advantageous for SSDs, and having sufficient USB and I/O ports will facilitate connectivity.
Memory (RAM): RAM impacts your PC's multi-tasking ability. For most users, 8GB to 16GB is sufficient; gamers and content creators may prefer 32GB or more. Confirm compatibility with your motherboard, focusing on the supported RAM type and maximum capacity. Remember, faster RAM offers performance benefits but ensure your motherboard supports the speeds you select.
Storage: SSDs (Solid State Drives) are recommended for their speed and reliability, significantly reducing boot and load times. Combining an SSD for OS and essential applications with a larger HDD for data storage provides both speed and affordability. Look for NVMe SSDs for optimal performance, especially if your motherboard supports PCIe M.2 drives.
Graphics Card (GPU): Essential for gaming, 3D rendering, and graphic-intensive applications. Select a GPU based on your performance needs and budget. For casual use, mid-range models suffice; for intense gaming or professional work, high-end cards with ample VRAM deliver better results.
Power Supply Unit (PSU): Choose a reputable power supply with enough wattage to support your components, plus some overhead for future upgrades. A reliable PSU ensures system stability and safety.
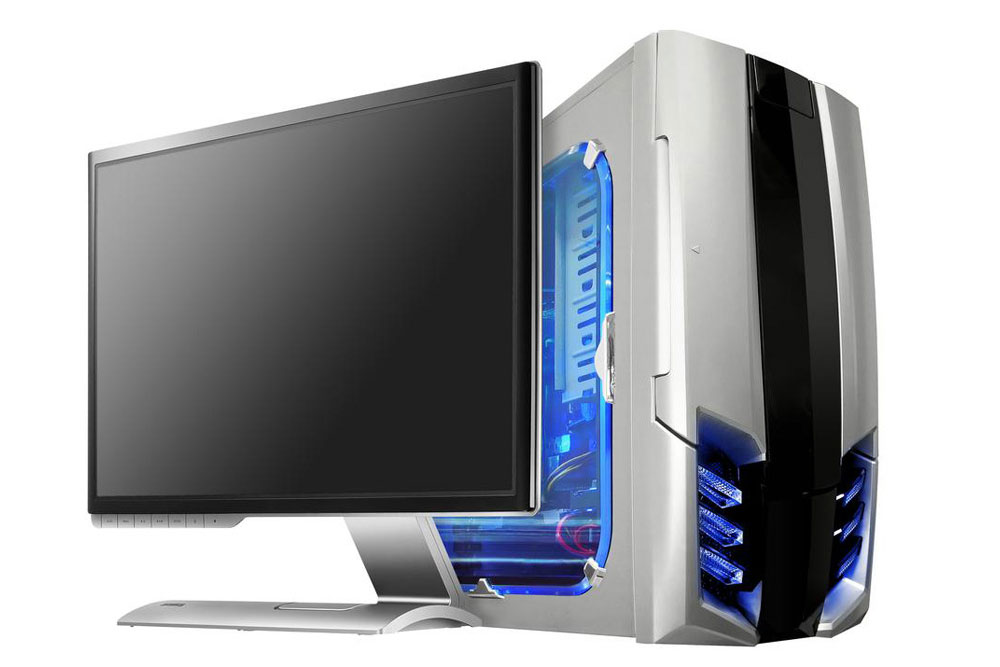
Case: Select a case that fits your components, offers good airflow, and matches your aesthetic preferences. Ensure it has ample space for larger GPUs and sufficient cooling options.
Assembling Your Custom Desktop: Step-by-Step
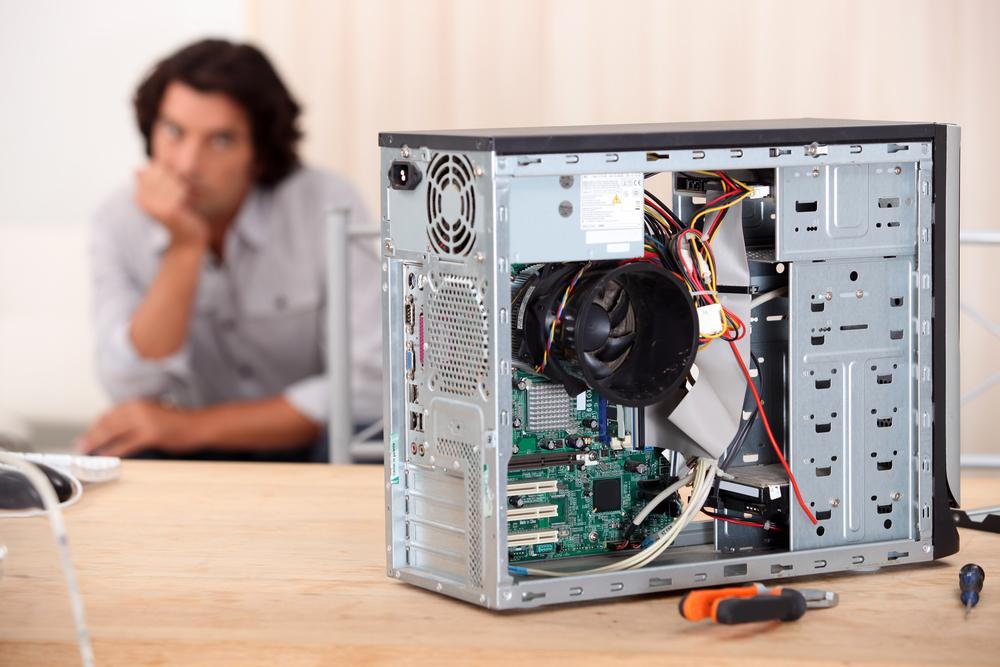
Once you've gathered all components, the assembly process begins. If you're new to hardware, enlisting help from a knowledgeable friend or watching detailed tutorials can be very helpful. Take your time, follow safety protocols such as grounding yourself to prevent static damage, and organize your workspace.
Start by installing the CPU onto the motherboard. Follow instructions carefully, applying thermal paste as needed and securing the CPU with the socket latch. Next, install RAM modules into the appropriate slots, ensuring they click into place. Mount your motherboard into the case, securing it with screws, then connect the power supply to the motherboard, storage drives, and GPU. Install storage devices and connect data and power cables accordingly. Finally, secure your graphics card into the PCIe slot, connect any necessary power cables, and double-check all connections.
Before powering up, ensure that the case airflow is unobstructed and all cables are properly connected. Insert the BIOS/firmware testing procedures to ensure all hardware is recognized correctly, then proceed to install your chosen operating system—Windows for ease of use or Linux for customization and open-source benefits.
Installing the Operating System and Finalizing Your Build
The installation process involves creating a bootable USB drive with your OS of choice. Follow on-screen instructions to complete the setup, including partitioning drives if necessary. Once installed, update your OS and drivers to ensure optimal hardware performance. For faster system response, consider using a Solid State Drive (SSD) as your primary boot drive. After completing software setup, connect peripherals such as keyboard, mouse, monitor, and speakers.
Power on your newly built desktop and verify everything functions correctly. Start with BIOS checks, then proceed to OS initialization. Once your desktop environment loads, customize your settings, install essential applications, and begin exploring your new PC.
Building a custom desktop PC can be immensely satisfying and offers a tailored experience that pre-built systems can't match. Over time, you can upgrade individual components to keep your machine up-to-date and performing at its best. Whether you're a gaming enthusiast, a creative professional, or a tech hobbyist, assembling your own PC is a valuable skill that opens up endless possibilities for customization and learning.