Comprehensive Beginner's Guide to Building Your First Custom PC
This comprehensive guide provides beginners with detailed steps to build their first custom PC, covering component selection, assembly, and software installation. It aims to demystify the process, offering expert tips and practical advice for a successful build. Perfect for tech enthusiasts and first-time builders, this article ensures you understand every aspect of creating your personalized computer system for gaming, work, or everyday use.

Comprehensive Beginner's Guide to Building Your First Custom PC
Building your very first custom PC can be an exciting journey filled with learning and great satisfaction. Although it may seem complex at first, understanding the fundamental components and processes can make the experience enjoyable and rewarding. Whether you're a tech enthusiast, a gamer, or someone interested in understanding computer hardware better, this detailed guide will walk you through each step of the process. From selecting compatible parts to assembling your system and installing the operating system, we cover everything you need to know to successfully build your own computer from scratch.
Setting out on your first PC build requires careful planning and some research. One of the most important aspects is choosing compatible components that suit your specific needs. If you are unsure where to start, consulting with experienced builders or seeking advice from online communities can make your journey smoother. This guide aims to simplify the process, making it accessible to complete beginners while providing valuable tips to avoid common pitfalls.
Step 1: Selecting the Right Components for Your Custom PC
The foundation of any functional PC is its core components. These include the processor (CPU), motherboard, memory (RAM), storage devices, graphics card (GPU), power supply, and casing. Each plays a unique role in ensuring smooth performance and system stability.
Starting with the processor, often referred to as the 'brain' of the computer, it's essential to select one that matches your usage. For high-end gaming, content creation, or professional workstations, opting for a powerful CPU like the Intel i7/i9 or AMD Ryzen 7/9 series is advisable. For everyday tasks or casual use, mid-range CPUs will suffice and help you save costs.
The motherboard acts as the backbone connecting all components. It's crucial to choose a motherboard compatible with your CPU socket type (such as LGA 1200 for Intel or AM4 for AMD). Ensure it has enough PCI Express slots for your graphics card and other expansion cards, as well as sufficient RAM slots to meet your memory requirements.
The Role of RAM, Storage, and Graphics Cards
RAM impacts your system's multitasking ability. For general use, 8GB is often enough, but gaming or multitasking workflows benefit from 16GB or more. Check your motherboard’s compatibility and opt for DDR4 or DDR5 RAM, depending on your setup.
Storage options include traditional HDDs or super-fast SSDs. For faster boot times and quicker data access, installing your operating system on an SSD is recommended. Depending on your storage needs, you might incorporate multiple drives, such as an SSD for OS and programs, and an HDD for mass storage.
Graphics cards are vital for gaming, video editing, 3D rendering, and other GPU-intensive tasks. Depending on your budget and performance requirements, choose a GPU with adequate VRAM and processing power. Popular options include Nvidia’s GeForce series or AMD’s Radeon series.
Power Supply, Case, and Assembly Tips
The power supply unit (PSU) provides electrical power to all components. Selecting a PSU with sufficient wattage, typically 500W-750W for most builds, ensures stable operation. Look for units with an 80 Plus efficiency rating for better energy conservation and reliability.
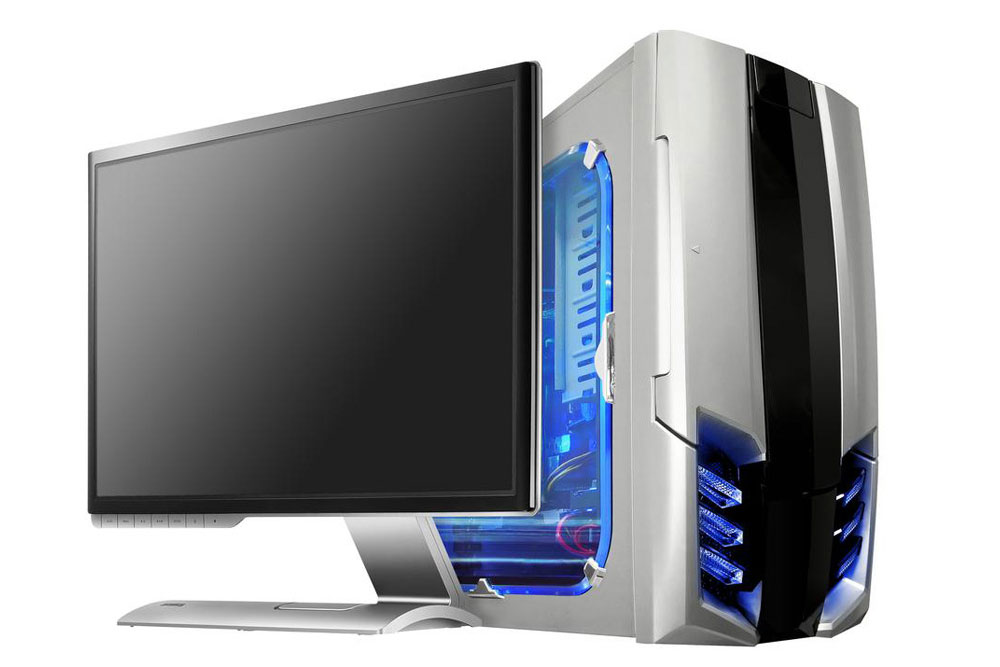
The case houses all components, offering different sizes such as ATX, Micro-ATX, or Mini-ITX. Choose a case based on your space constraints, cooling requirements, and aesthetic preferences. Proper airflow and cable management are crucial for maintaining optimal temperatures and building a neat system.
Once you have all components, assembling your PC requires patience and some basic tools like screwdrivers. Follow step-by-step tutorials, and handle components carefully to avoid static damage. Start by installing the CPU onto the motherboard, then insert RAM, attach the CPU cooler, and connect the motherboard to the case. Mount the PSU, and install storage drives and the graphics card. Cable management is essential for airflow and aesthetics. Online guides and videos can serve as helpful references during assembly.
Installing the Operating System and Final Testing
After physically assembling your system, the next step is installing the operating system. For beginners, Windows is generally the easiest choice, offering compatibility and user-friendly features. Developers and tech enthusiasts may prefer Linux distributions such as Ubuntu or Fedora for customization and open-source benefits.
Prepare a bootable USB drive with your preferred OS installation files. Enter your BIOS/UEFI by pressing a specific key during startup (commonly F2, F12, or DEL), set the USB drive as the primary boot device, and follow the on-screen instructions to install the OS on your SSD.
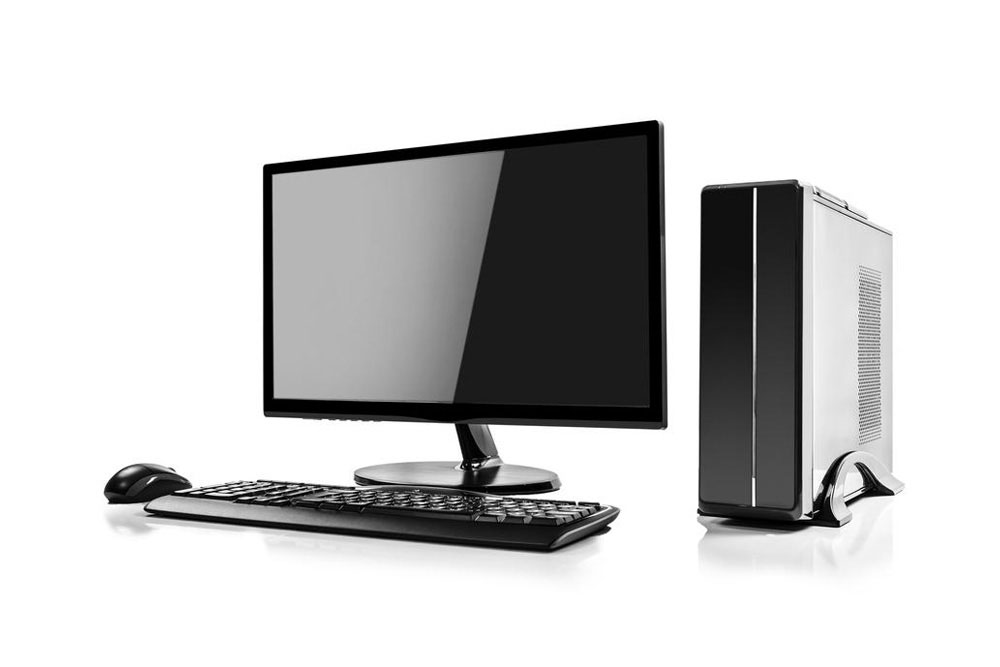
Once installed, connect peripherals like a keyboard, mouse, and monitor, then power on your system. If everything is correctly assembled, your computer should boot into the OS without issues. Verify that all drivers are installed correctly and that the system runs smoothly. Conduct basic stress tests and monitoring to ensure stability and proper functioning.
Building a custom PC for the first time can seem daunting, but with patience, research, and careful planning, it becomes a highly rewarding experience. It not only saves money compared to pre-built systems but also provides you with a deeper understanding of how computers work. As you become more proficient, you can upgrade and customize your system over time, enhancing its performance and capabilities. Enjoy the process, and soon, you'll be marveling at your self-built masterpiece!


