How to Create Your Own Homemade Cotton Candy Machine for Delicious Treats
Learn how to build a DIY cotton candy machine at home with easy-to-find materials. This comprehensive guide covers everything from gathering components, step-by-step assembly, safety tips, and customization ideas, making homemade fluffy cotton candy fun and accessible for everyone. Perfect for parties, family activities, or anytime you crave a sweet treat, this project combines creativity with practical skills to produce delicious results. Transform your leisure time into a tasty adventure with your very own cotton candy maker!

Build a DIY Cotton Candy Maker at Home for Fresh, Fluffy Cotton Candy
Cotton candy has long been a beloved treat enjoyed by children and adults alike, often associated with fairs, carnivals, and celebrations. Historically, it was considered a luxury item, mainly accessible to the wealthy due to its handcrafted nature, labor-intensive process, and high production costs. Making cotton candy at home was once impractical and expensive, but today, with some basic materials and a bit of DIY ingenuity, it’s entirely possible to craft your own cotton candy machine in your own kitchen or backyard. This DIY project not only allows you to enjoy fresh, fluffy cotton candy anytime but also provides a fun and educational experience for hobbyists and families alike.
Creating your own cotton candy machine involves assembling a simple device that mimics commercial models, using affordable and readily available components. This process enables you to understand the mechanics behind candy creation and offers a rewarding sense of accomplishment once you see the spun sugar swirling onto your sticks. Whether for parties, festivals, or just as a fun household activity, building a homemade cotton candy maker is a fantastic way to indulge your sweet tooth and explore basic DIY electronics and engineering concepts.
Gathering Materials for Your DIY Cotton Candy Machine
Before you begin construction, it’s important to gather the necessary materials and tools. Most of these can be sourced from local hardware stores or online suppliers, with only some ingredients like sugar and food coloring needing to be purchased from your grocery store. Here’s what you’ll need:
Two small metal bowls (preferably stainless steel or aluminum)
A 1500 RPM fan motor (commonly used in small appliances or hobby projects)
A polycarbonate sheet (for creating the catching surface)
A propane torch (for heating the sugar)
Sugar (granulated or specialty cotton candy sugar)
Food coloring (to add fun colors to your cotton candy)
Nuts and bolts (for securing components)
Drill and basic hand tools
Note: Safety should be a priority when working with heat sources and electrical components. Ensure proper safety gear such as gloves, goggles, and working in a well-ventilated area.
Step-by-Step Instructions to Assemble Your Cotton Candy Maker
The process of building your homemade cotton candy machine involves careful assembly to ensure safe and effective operation. Below are detailed steps:
Prepare the metal bowls: Use a drill to create holes in the bowls. One bowl should have a large central hole to allow the sugar to be spun through, while the other should have a smaller hole for the fan rod.
Secure the fan motor: Attach the fan motor to a sturdy base (such as a wooden platform). Make sure it’s mounted securely to prevent movement during operation.
Attach the bowls: Mount the larger metal bowl onto the fan rod using nuts and bolts, ensuring it is tightly secured. Repeat with the smaller bowl if needed, depending on your design plan.
Shape the polycarbonate sheet: Cut the sheet into a circular shape that can serve as a catching surface for the spun sugar. Position this circle at an appropriate height above the bowls to catch the cotton candy as it forms.
Install the heat source: Place the propane torch between the bowls and the catching surface, ensuring it’s positioned to heat the sugar effectively without direct contact. Attach the torch securely, maintaining a safe distance from other components.
Connect and test: Connect the motor to a power source and test the operation. Turn on the fan while carefully introducing flavored sugar onto the heated surface. The heat causes the sugar to liquefy, and the spinning motion helps to create the cotton candy.
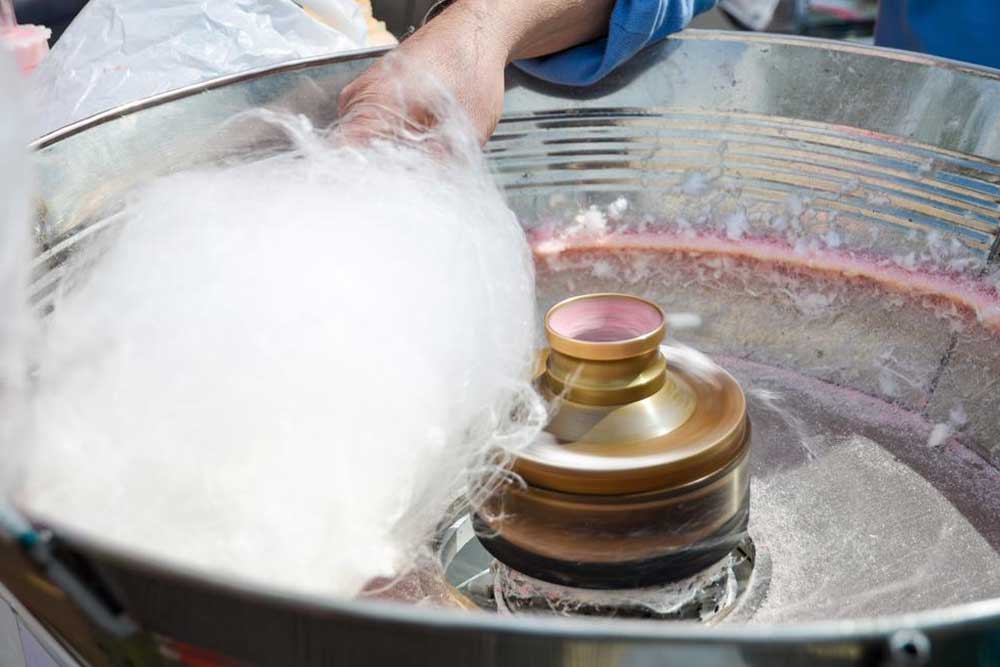
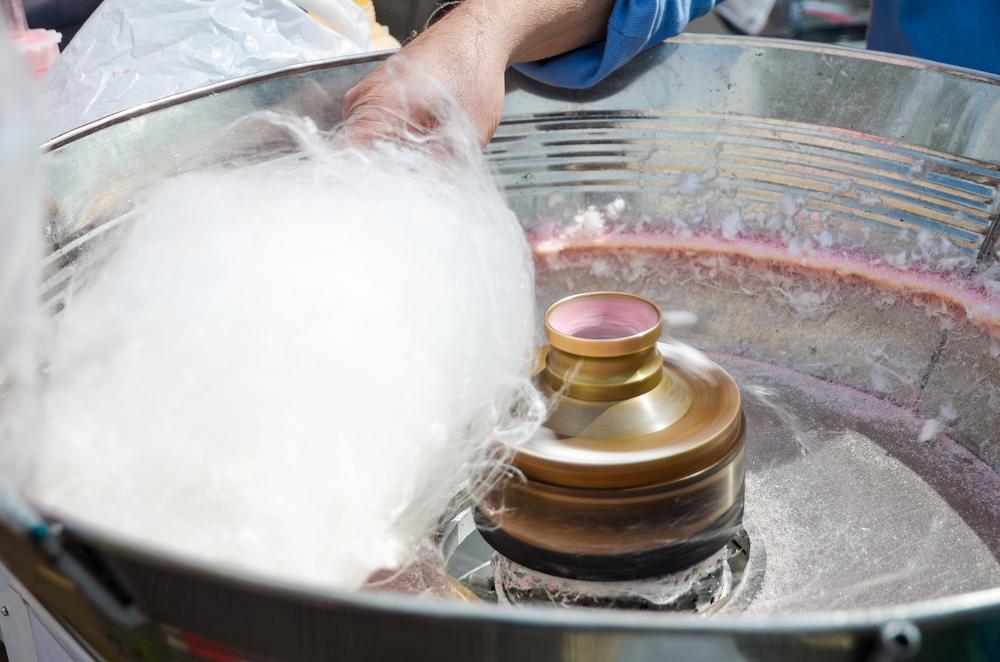
Gather your cotton candy: As the sugar spins out into fluffy threads, use sticks or cones to gather your homemade cotton candy, enjoying a freshly made treat.
Safety Tips and Additional Advice
Working with electrical components and open flames requires caution. Always operate your DIY cotton candy machine in a well-ventilated area away from flammable materials. Use protective gear like gloves and goggles to prevent burns or injuries. Regularly inspect your device for loose parts or fire hazards and perform maintenance as needed.
Enjoy Your Homemade Cotton Candy Anytime
Once assembled and tested, your homemade cotton candy machine is ready to produce delicious, fluffy candy at home. You can customize flavors with different food colorings and sugars, experiment with various spinning speeds, and even design themed decorations for special occasions. This DIY project not only saves you money compared to buying pre-made cotton candy but also offers a fun, educational experience that brings family and friends together. Whether for backyard parties, school projects, or just an afternoon of sweet fun, building your own cotton candy maker is a fulfilling way to indulge your sweet tooth and develop new skills.
So, gather your materials, follow the steps carefully, and get ready to enjoy endless cotton candy delights right in your own home!