Ultimate Guide to Basement Waterproofing: Techniques, Tips, and Cost Insights
This comprehensive article explores essential basement waterproofing methods, DIY tips, cost considerations, and best practices to protect your home from water damage. Learn how to identify issues early, choose suitable sealing techniques, and maintain a dry, safe basement environment, ensuring your property's longevity and value.
Ultimate Guide to Basement Waterproofing: Techniques, Tips, and Cost Insights
Ensuring your basement stays dry and free from water-related issues is crucial for maintaining the integrity and value of your home. Regular maintenance and timely waterproofing can prevent severe damage caused by water infiltration, such as structural deterioration, mold growth, and pest infestations. Recognizing early warning signs like wall cracks, persistent dampness, strange odors, water stains, and door distortions is essential for homeowners aiming to keep their basements safe and functional. Understanding the various waterproofing methods, their costs, and effective DIY strategies can empower homeowners to take proactive measures.
Types of Basement Waterproofing Techniques
Basement walls are primarily constructed from concrete, which, despite its strength, is porous. This porosity allows moisture and water to seep through if not properly sealed, leading to dampness, mold development, and structural issues. To combat these challenges, several effective waterproofing techniques are available, each suited to different situations and budgets:
Plastic Sheeting and Waterproof Panels
This method involves installing durable plastic sheeting or waterproof panels on interior walls or floors. Behind these panels, water-absorbing materials can direct moisture toward sump pumps or drainage systems, effectively preventing water accumulation within the basement. It’s a straightforward solution ideal for minor waterproofing needs or quick fixes.
Sealants for Concrete Surfaces
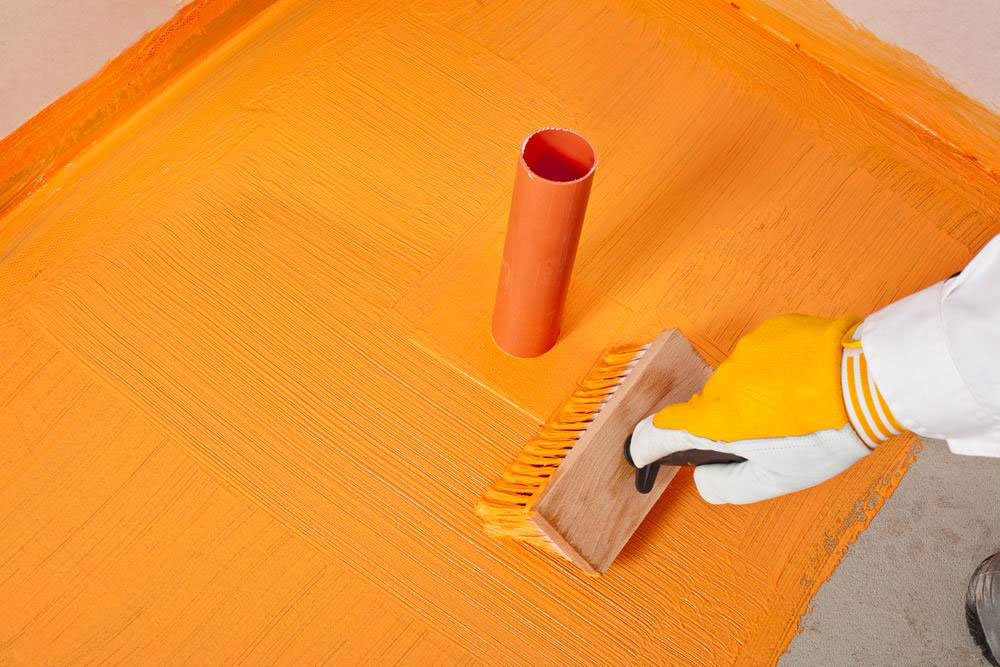
Specialized sealants are applied directly onto concrete walls, creating an impermeable barrier that blocks water ingress. These sealants come in liquid or rubberized forms and are usually applied with brushes or rollers, ensuring a seamless cover. Proper surface preparation is critical for maximum adhesion and effectiveness.
Silicate-Based Sealants
Silicate sealants penetrate deep into the concrete, filling micro-cracks and gaps within the structure. This chemical reaction forms a durable and long-lasting barrier. However, they are only suitable for unpainted concrete surfaces, as painted surfaces can interfere with penetration.
Interior Waterproof Coatings
These are thick, paint-like coatings applied over existing sealants, providing an additional layer of water resistance. They can be used as a final protective coat to enhance basement durability, especially in areas prone to seepage or minor leaks.
DIY Basement Waterproofing Tips for Homeowners
While professional waterproofing services often provide the most comprehensive protection, many homeowners prefer to undertake basic waterproofing improvements themselves. With proper knowledge and precautions, DIY methods can significantly enhance basement water resistance, saving costs and increasing DIY satisfaction.
Step 1 - Remove Existing Water and Moisture
Begin by eliminating standing water inside the basement. Turn off electrical circuits to prevent hazards. Check and unclog sump pumps and drains to ensure proper drainage. Use additional tools like dehumidifiers, fans, and mops to thoroughly dry the space. Applying a diluted bleach solution can inhibit mold and mildew growth, maintaining a healthier environment.
Step 2 - Identify and Locate Leak Sources
To understand where water infiltration occurs, temporarily tape aluminum foil or plastic sheeting onto basement walls. After 24 hours, observe the foil's condition: moisture or dampness indicates high humidity or leak points. External wetness suggests poor drainage or leaks through the foundation that need addressing.
Step 3 - Surface Preparation
Thoroughly clean basement walls by removing old paint, debris, and any loose material. Use protective gear such as masks, gloves, and goggles when handling chemicals like muriatic acid or acetone. Allow surfaces to fully dry before applying any sealants or waterproof coatings to ensure optimal adhesion.
Step 4 - Seal Cracks and Openings
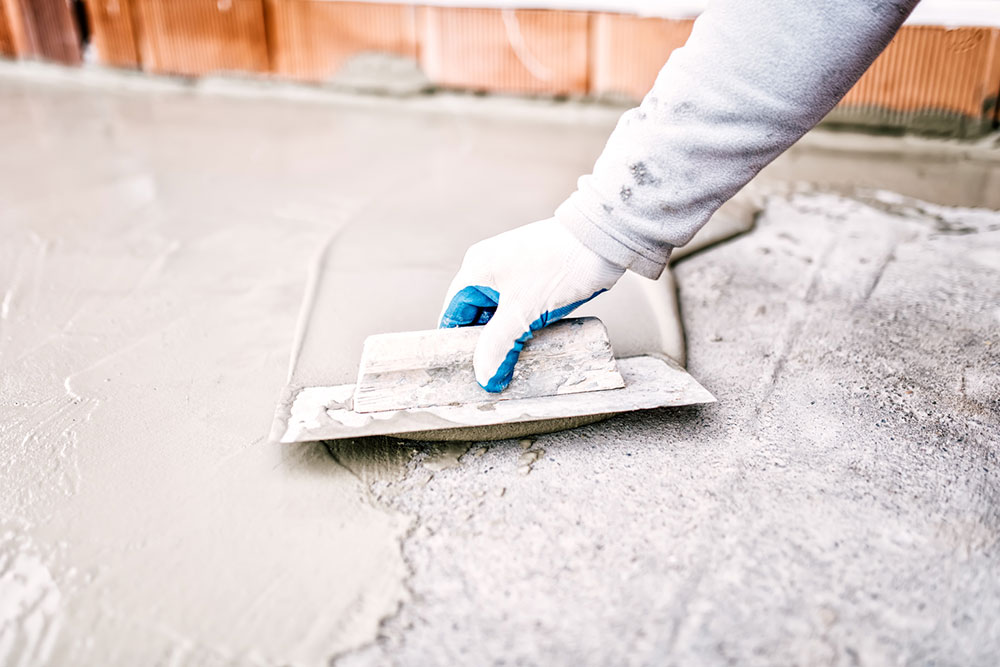
Fill all visible cracks and holes with hydraulic cement, epoxy, or appropriate caulking compounds. Larger cracks may require professional assessment to ensure proper sealing and structural integrity. Sealing prevents water from seeping through existing vulnerabilities.
Step 5 - Seal Door, Window, and Well Openings
Use waterproof caulking to seal gaps around doors, windows, and well covers. These points are common entry routes for water, especially during heavy rains or floods. Proper sealing is essential to prevent ongoing water intrusion.
Step 6 - Apply Waterproof Coatings
Finish by applying multiple coats of waterproof paint or spray sealant on walls and floors. Lightly dampening surfaces before applying each coat can improve adhesion. Allow each coat to dry thoroughly before applying the next, creating a robust barrier that guards against future water infiltration.
Estimated Costs for Basement Waterproofing
Professional waterproofing services typically cost between $2,300 and $7,575, with an average around $4,920 across the United States. The final price depends on several factors, including basement size, chosen waterproofing method (interior versus exterior), local labor rates, and material costs. Exterior waterproofing tends to be more expensive but offers the most comprehensive long-term protection. On the other hand, interior approaches are more accessible for DIY projects or small-scale repairs.
It's advisable to hire experienced professionals for complex cases involving significant structural issues or extensive leaks. For homeowners on a budget or those preferring a DIY approach, understanding the cost and scope helps set realistic expectations. Seniors or mobility-limited individuals should consider contacting local agencies like Rebuilding Together or the Area Agency on Aging for assistance or affordable services.