Comprehensive Guide to Building Your Perfect Outdoor Storage Shed
Building an outdoor storage shed is a rewarding DIY project that enhances your property's organization and aesthetic appeal. This comprehensive guide covers material selection, permit requirements, site preparation, foundation construction, wall framing, roofing, and finishing touches. Whether you're looking for durability, customization, or weather resistance, following these detailed steps ensures a successful build. From choosing the right materials to securing necessary permits, this article provides all essential information to help you construct a functional, attractive shed tailored to your needs, boosting your outdoor space's value and utility.
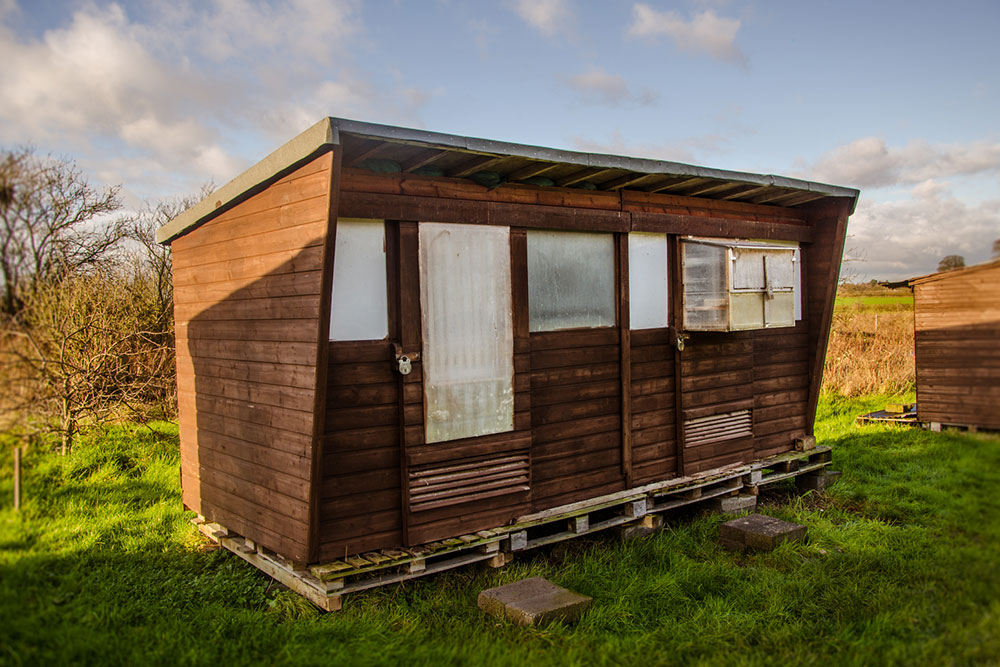
Comprehensive Guide to Building Your Perfect Outdoor Storage Shed
Constructing an outdoor storage shed is one of the most practical projects homeowners can undertake to enhance their property's organization and utility. An outdoor shed provides a dedicated space for storing gardening tools, outdoor equipment, bicycles, and bulky items that would otherwise clutter your garage or indoor areas. Beyond functionality, a well-designed shed can also add aesthetic appeal to your yard if built thoughtfully, blending seamlessly with your landscape design.
Step-by-Step Process for Building a Durable and Attractive Garden Storage Shed
1. Choosing the Right Materials for Your Shed
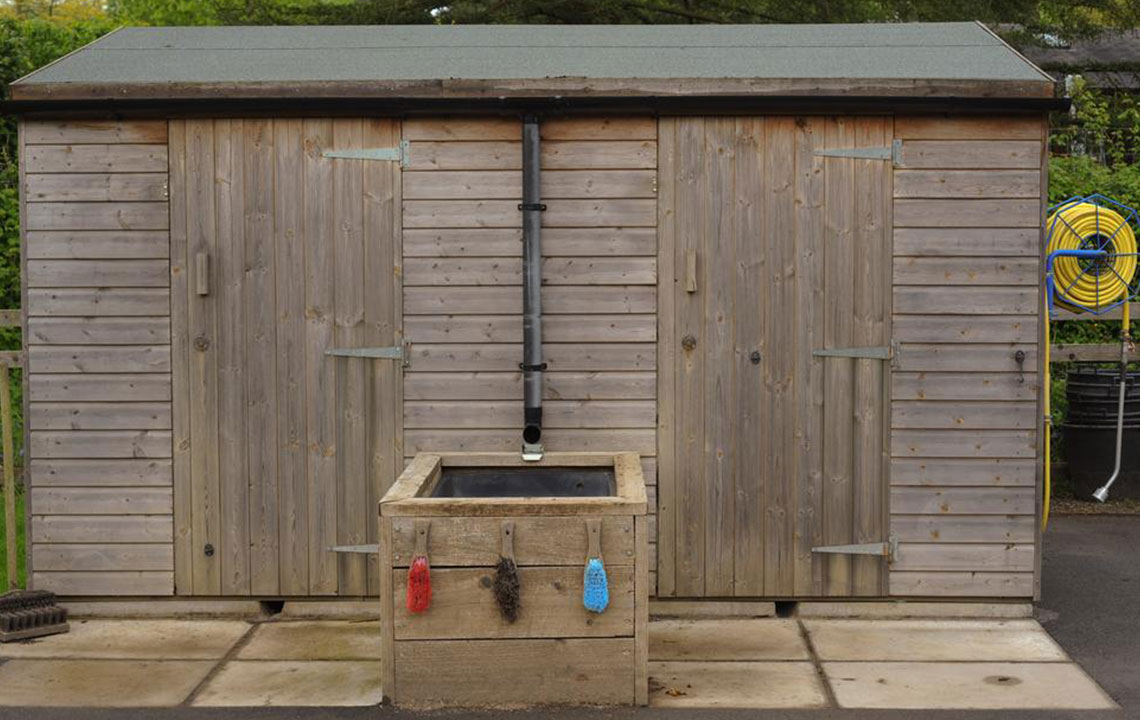
The foundation of a long-lasting storage shed begins with selecting appropriate building materials. Common options include resin, metal, and wood, each offering unique advantages suited to different needs and climates. Wooden sheds are highly customizable; you can paint them in various colors, add shelves, windows, or decorative trims to enhance their visual appeal. However, wood tends to attract insects and rodents if not properly treated or maintained, which might be a concern in certain areas.
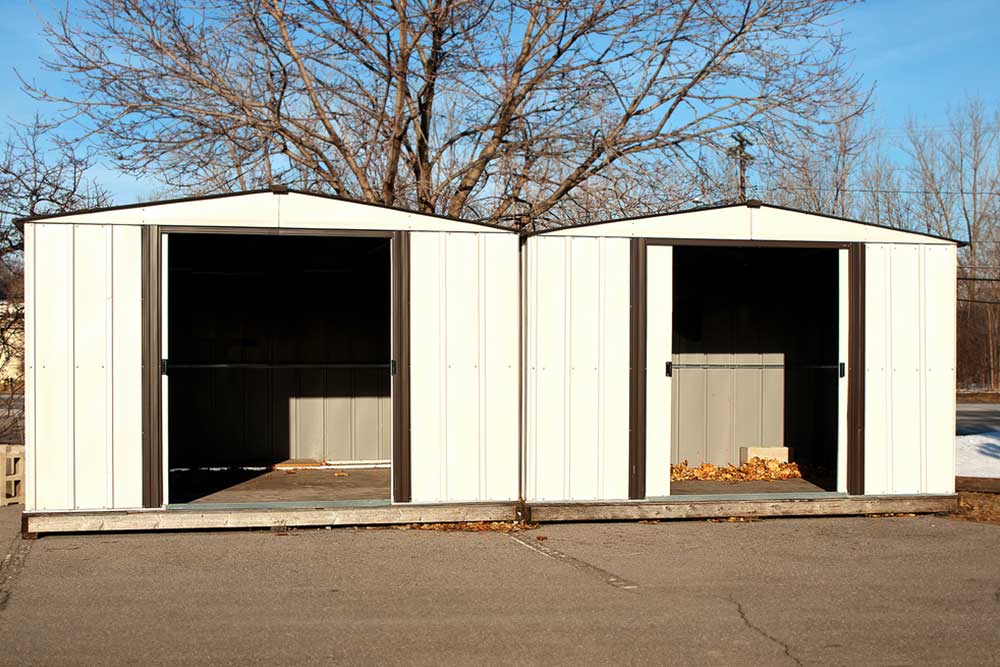
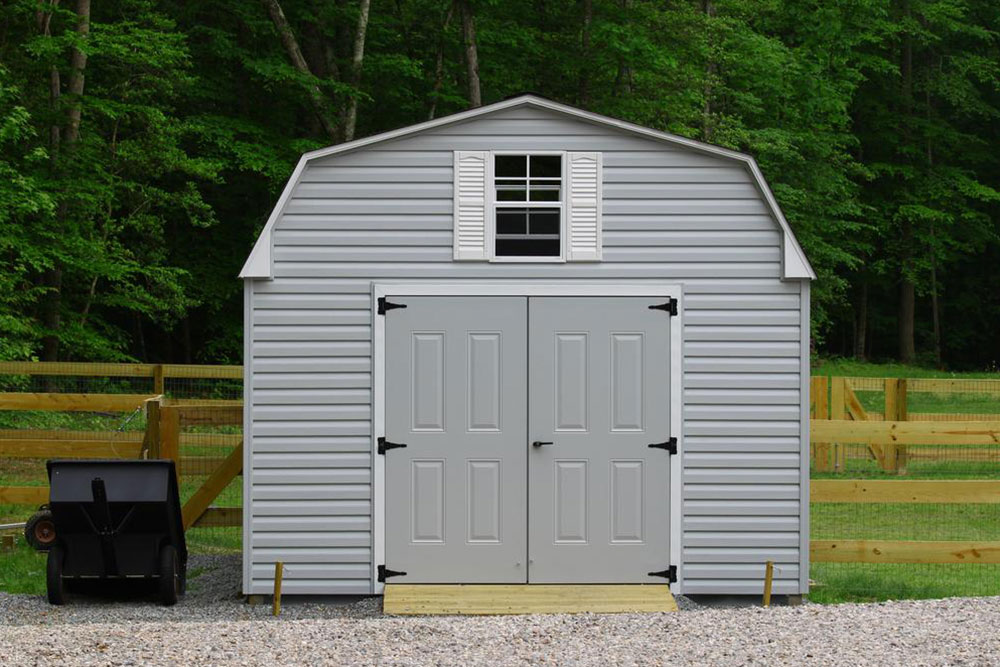
Resin sheds are low-maintenance, lightweight, and resistant to weather elements, making them ideal for locations prone to rain or humidity. Metal sheds are known for their robustness and durability, providing excellent security and resistance to pests. When choosing materials, consider your climate, budget, and the intended use. If customization and aesthetic versatility are priorities, wood may be your best bet. For minimal upkeep and robust defense against weather and pests, resin or metal options are preferable.
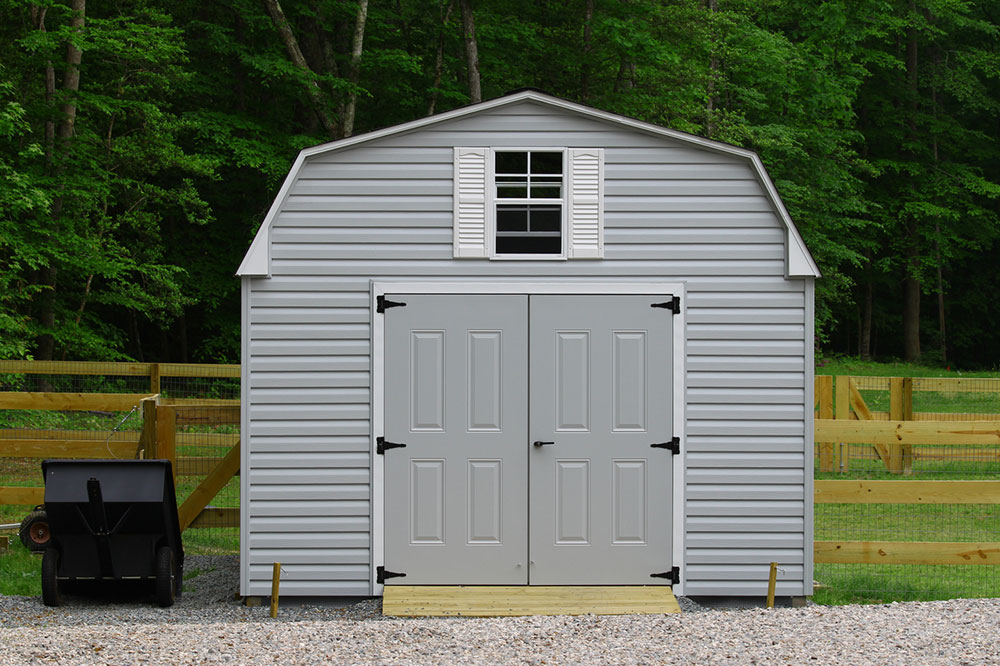
In addition to structural materials, think about interior features such as shelving, lofts, and organization systems. These can be added during construction or as upgrades later. Painting your shed can help it blend into your landscaping or stand out as a decorative feature. Resin sheds often come in various colors and textures, while wooden sheds provide more flexibility for paint and embellishments. Material choice impacts not just appearance but also how well your shed withstands the elements.
2. Understanding Permit Requirements and Local Regulations
Before starting construction, it's crucial to identify whether you need permits from your local authorities. Regulations vary depending on location, shed size, and intended use. Typically, small sheds under 15 square meters (approximately 161 square feet) may not require formal approval, but larger structures or those situated in specific zones often do. Contact your city or county building department to clarify rules and secure necessary permits, ensuring your project complies with all legal standards and avoids penalties or required modifications later.
3. Preparing the Construction Site
The success of your shed depends heavily on proper site preparation. Clear the designated area of any debris, grass, rocks, or roots. Level the ground meticulously using tools such as a shovel, rake, or rented plate compactor if needed. A level, well-draining surface prevents future issues like flooding or shifts. Mark out the shed’s perimeter with stakes and string, double-checking measurements and squareness using a carpenter's level and tape measure. Proper groundwork ensures a stable, durable structure that stands the test of time.
4. Gathering Essential Tools and Materials
Having the right toolkit is vital for efficient construction. Essential tools include a circular saw or handsaw, cordless drill, hammer, screwdrivers, measuring tape, carpenter’s square, level, clamps, and safety equipment such as gloves and goggles. Depending on your design, additional tools like a chalk line, caulk gun, or nail gun may streamline the process. Preparing all materials—including timbers, fasteners, roofing materials, and paint or stain—before you start helps keep the workflow smooth and reduces delays.
5. Building a Robust Foundation
A solid foundation is critical to your shed’s stability and longevity. Common options include concrete blocks, gravel beds, or pavers, which provide leveling and drainage. Larger sheds may require a concrete slab for maximum strength, while smaller units can sit on treated wood or gravel bases. Use construction adhesive or anchors to secure the base elements to the ground, ensuring they don't shift over time. Proper foundation work prevents issues like warping, shifting, or water damage, preserving your shed’s structural integrity for years to come.
6. Constructing the Floor Frame and Base
The floor frame acts as the platform for your shed, supporting all contents and preventing ground moisture from seeping in. Use treated lumber for the frame, which resists rot and insects. For larger sheds, consider poured concrete slabs or gravel bases with a wood subfloor. Secure the frame to your foundation using anchors or nails, ensuring it’s level and stable. This step lays the groundwork for the walls and roof, so take your time to measure and assemble precisely.
7. Framing and Assembling the Walls
Measure, cut, and assemble wall frames according to your shed design. Incorporate openings for doors and windows during this stage. Attach the wall frames to the floor platform, aligning bottom plates carefully with chalk lines and level. For roofs with a slope, angle the top plates slightly to promote water runoff. Reinforce joints with nails or screws for added stability. Proper framing ensures the shed is square and sturdy, providing a solid foundation for roofing and finishing work.
8. Building and Attaching the Roof and Doors
Construct the roof framework, ensuring it has an adequate slope for effective drainage. Cover the frame with suitable weatherproof materials such as roofing felt, tar paper, or shingles. Attach the roof to the walls securely, with appropriate overhangs to shield the shed from rain. For doors, build frames from sturdy wood or metal, ensuring they fit opening dimensions. Install hinges, handles, and locks to secure your valuable stored items. A well-built roof and durable door system enhance the shed’s usability and weather resistance.
9. Incorporating Ventilation and Finishing Touches
Proper ventilation extends the lifespan of your shed by preventing moisture buildup and mold growth. Attach soffits under eaves to allow airflow, and consider installing vents near the roof or walls. Finish the exterior with paint, stain, or sealant to boost weather resistance and aesthetic appeal. Inside, add shelves, hooks, and organizational units to maximize space utilization. Secure all components, double-check stability, and make sure doors open smoothly and lock securely. If necessary, consult professionals to ensure safety and quality standards are met.
Constructing a shed can cost anywhere from $1,000 to $10,000, depending on the size, materials, and finishing details. Budget planning should include labor, permits, hardware, and optional features. Building your own outdoor shed not only provides practical storage but also customization opportunities to tailor the project to your specific needs and style preferences. With patience, proper planning, and the right tools, you can create a reliable, attractive storage solution that enhances your property's functionality and value.
