Ultimate Guide: 7 Expert DIY Tips for Achieving a Flawless Self-Tan at Home
Discover top expert tips for achieving a flawless and natural-looking self-tan at home. From selecting the right shade to applying evenly and finishing touches, this comprehensive guide helps you master self-tanning with ease. Perfect for summer or any occasion, these techniques ensure a streak-free, long-lasting glow that boosts your confidence and enhances your natural beauty. With detailed steps and creative DIY solutions, you'll enjoy a professional-looking tan without leaving your house, making self-tanning simple, effective, and safe.

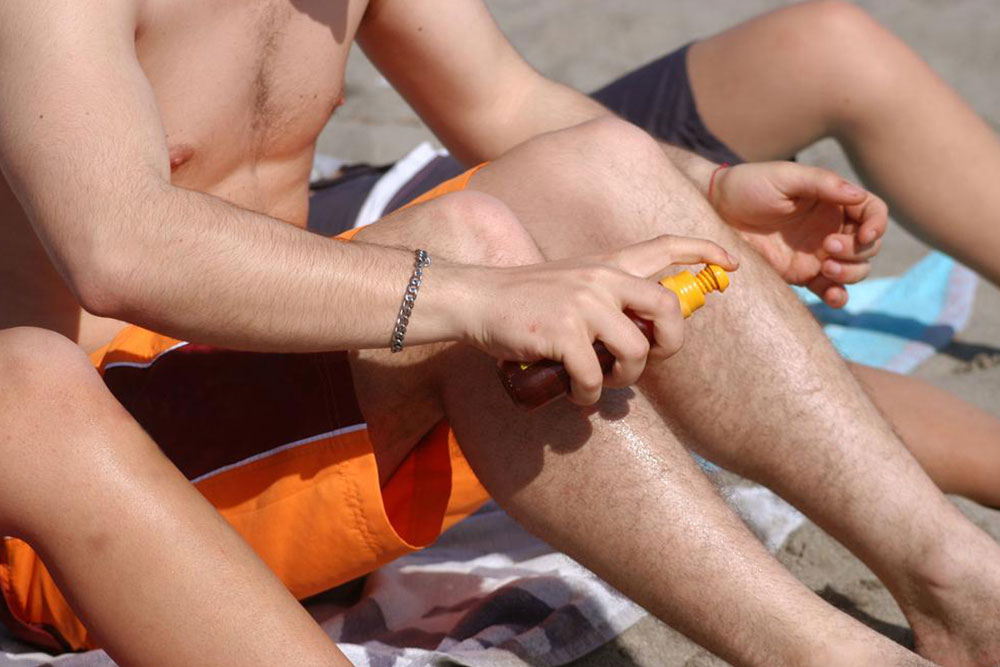
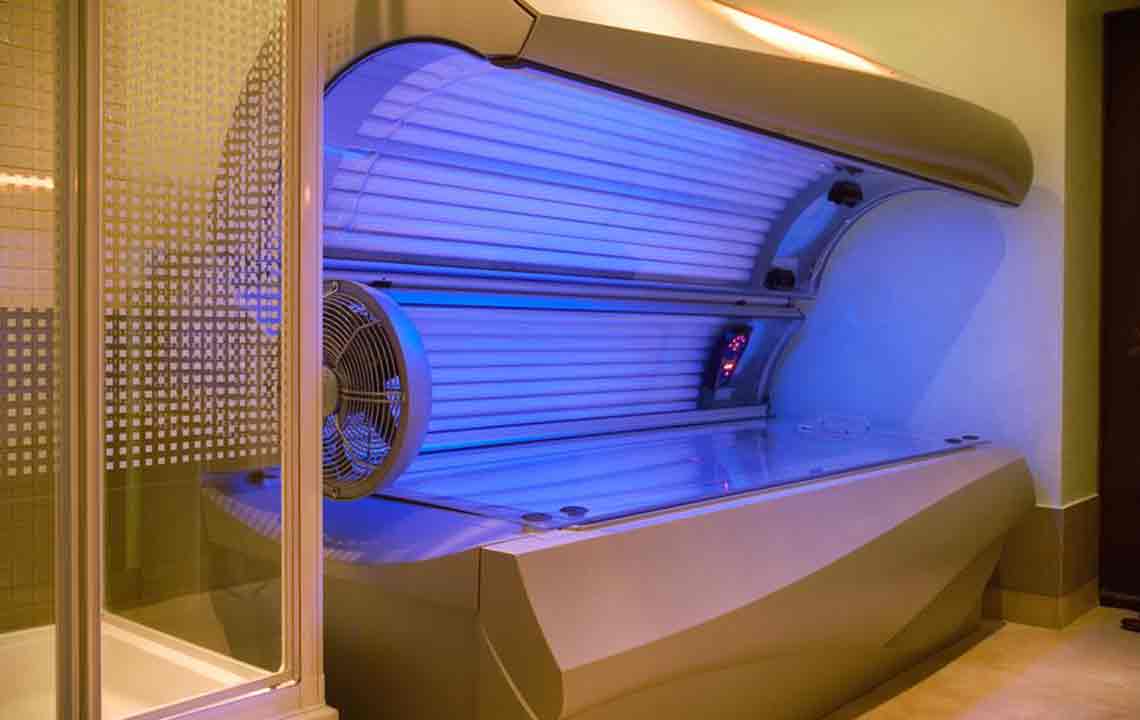
As the summer season approaches, many individuals aim to attain a radiant, sun-kissed glow that enhances their natural beauty. While professional tanning salons can provide quick results, a growing number of people prefer the convenience, privacy, and cost-effectiveness of achieving a perfect self-tan right in the comfort of their own homes. Mastering the art of self-tanning requires a combination of proper preparation, precise application, and post-tanning care to ensure a natural, streak-free beauty. In this extensive guide, we delve into seven expert-recommended tips that will empower you to create a flawless, even, and long-lasting self-tan that accentuates your skin tone and boosts your confidence for any occasion.
From selecting the right self-tanner shade to utilizing innovative techniques for hard-to-reach areas, these carefully curated strategies are designed for both beginners and seasoned tanners. Whether you're preparing for a summer vacation, a special event, or simply want to maintain a healthy glow year-round, these tips will help you achieve professional-like results without stepping outside your door.
Choose the Correct Self-Tanner Shade for Your Skin Tone: The foundation of a natural-looking tan begins with selecting the appropriate shade. Opt for a self-tanner that closely matches your natural skin color—lighter shades are ideal for fair skin tones to avoid an unnatural orange hue. Medium shades complement olive and beige skin tones, providing a warm, sun-kissed appearance. For individuals with darker skin, richer, deeper hues can enhance your glow without looking overdone. Always perform a patch test before full application to ensure the shade blends seamlessly with your complexion, reducing the risk of mismatched or uneven coloring.
Pre-Tan Skin Preparation is Crucial: Proper skin preparation lays the groundwork for an even, streak-free tan. Start by thoroughly cleansing your skin to remove dirt, oil, and residual products that can interfere with pigmentation. Exfoliation is vital—use a gentle, oil-free exfoliator to slough away dead skin cells, which can cause uneven absorption and premature fading. For facial applications, applying ice cubes helps tighten pores, minimizing their appearance and reducing breakout risks. Follow up by drying your skin completely; dampness can dilute self-tanner and create blotchy patches.
Exfoliate Regularly for a Long-Lasting, Even Tan: Maintaining smooth, hydrated skin before and after tanning treatment ensures the longevity of your tan. Implement a routine of gentle exfoliation 24 hours before application to remove dead skin cells. After tanning, exfoliating every few days prolongs your glow while preventing patchiness and uneven fade. Focus on areas prone to dryness or shedding, such as elbows, knees, and ankles. Use oil-free exfoliators to avoid interference with the self-tanner’s adherence. Hydrating your skin with a moisturizer post-tanning also helps lock in your glow and keeps your skin looking healthy and luminous.
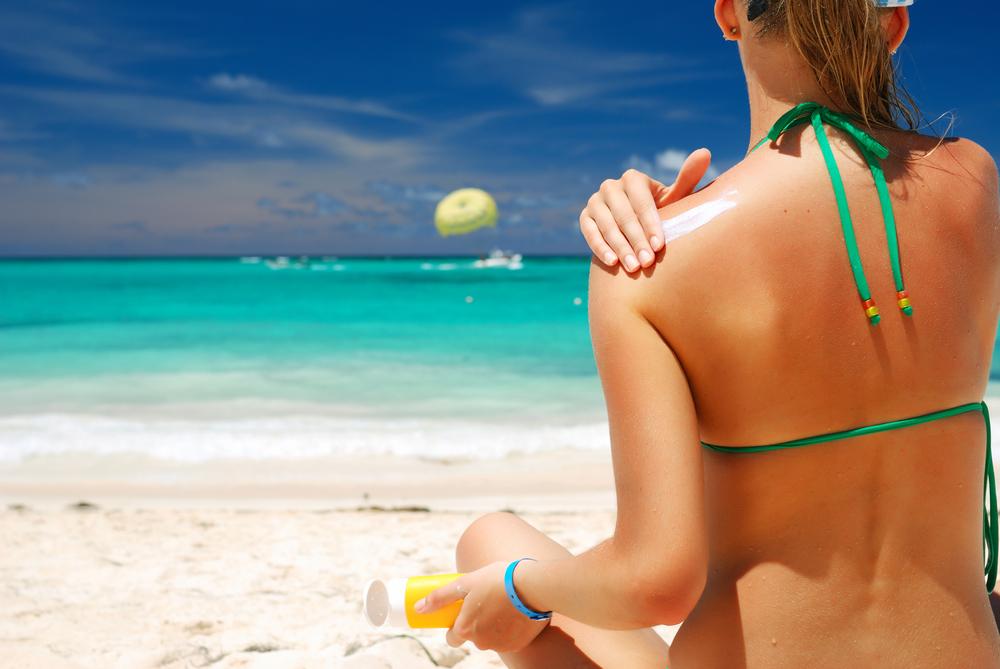
Methodical and Layered Application for an Even Finish: Applying self-tanner systematically is key to avoiding streaks and blotches. Start from the limbs, working your way from the hands to the arms, then the torso and back. Use a tanning mitt to distribute the product evenly, avoiding excess buildup that can result in darker spots. Apply in circular motions or long, sweeping strokes to ensure smooth coverage. For areas prone to uneven color—such as elbows, knees, and ankles—lightly buff the product into these spots and use a damp cloth to remove excess. Layer the product gradually, building up a natural bronze rather than trying to achieve the desired shade in one go.
DIY Back Applicator and Hard-to-Reach Spots: Reaching your back and other difficult areas can be a challenge during self-tanning. To simplify this, create your own applicator by attaching a self-tanning mitt or sponge to a long-handled tool like a wooden spoon or a flat brush. This DIY device allows for effortless, even application on your back without assistance. For facial and neck areas, use a small, clean makeup sponge for precision. Ensuring every part of your body is evenly coated helps you avoid patchy spots and ensures a consistent tan across your entire skin.
Smart Application on Joints and Palms: Joints, such as elbows and knees, tend to absorb more product and can appear darker or uneven. To prevent this, apply the self-tanner primarily to your palms and central body areas; then, gently spread excess product toward joints to achieve a balanced look. Additionally, the palms are often prone to staining, so wearing gloves during application or washing your hands immediately afterward helps prevent unnatural coloration. Pay attention to the wrists, ankles, and other jointed areas, blending thoroughly to avoid over-darkening that creates an unnatural appearance.
Post-Tanning Finishing Touches: After applying your self-tanner, some finishing touches can help achieve a seamless, professional appearance. Use a light-toned toner or a soft brush to refine your hairline and work around your ears, eliminating dark streaks and ensuring a natural transition between skin and hair. If streaks or uneven patches do appear, gently blending with a damp sponge or a soft brush can smooth out imperfections. Allow the tan to develop fully—typically between 4 to 8 hours—before dressing or showering. When you do shower, opt for lukewarm water and avoid harsh soaps that can strip your tan prematurely. Moisturize daily to prolong the glow and keep your skin hydrated, ensuring your self-tan remains vibrant and even for days.
Implementing these comprehensive tips will elevate your self-tanning routine from basic to professional quality. Whether you're preparing for upcoming summer gatherings, beach trips, or personal confidence boosts, mastering these expert techniques guarantees a natural, radiant glow that enhances your overall appearance. Remember, patience and consistency are key to perfecting the art of self-tanning, so take your time to prepare, apply, and maintain your glow. With practice, achieving a flawless, sunless tan at home becomes an effortless and rewarding part of your beauty routine, leaving you looking luminous and feeling fabulous throughout the season and beyond.