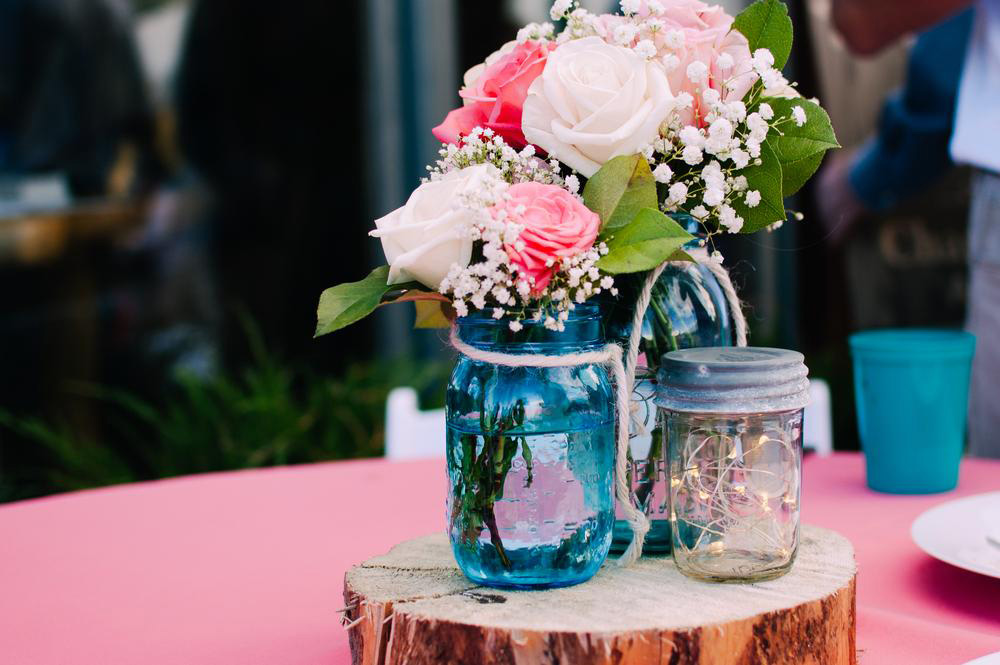
Innovative DIY Mason Jar Ideas to Enhance Your Home Decor
Discover over six innovative and budget-friendly DIY mason jar projects to elevate your home decor. From stylish desk organizers to nautical mini aquariums, these ideas are perfect for adding a personal touch and rustic charm to any living space. Simple materials and beginner-friendly steps make these crafts accessible for everyone eager to transform ordinary jars into beautiful decor pieces. Make your home more inviting and stylish with creative mason jar ideas that blend functionality with aesthetics, perfect for seasonal, modern, or rustic themes.
Innovative DIY Mason Jar Ideas to Enhance Your Home Decor
Mason jars have become a beloved staple in contemporary interior decoration due to their versatility, rustic charm, and affordability. These simple glass containers can be transformed into stunning decor pieces that add personality and a DIY touch to any living space. From functional organizers to artistic decorations, the possibilities are endless with a little creativity and the right materials. Whether you're looking to upgrade your home, craft memorable gifts, or simply enjoy a fun DIY project, mason jars provide an excellent medium for numerous inventive ideas.
This comprehensive guide explores over six inspiring projects designed to elevate your home decor. These ideas are beginner-friendly, budget-conscious, and highly customizable, making them perfect for adding personal touches to your living environment. Dive into these DIY mason jar projects to bring a rustic yet modern vibe to your home, and discover how a simple jar can be transformed into a centerpiece of style and utility.
Creative Mason Jar Desk Organizers for a Tidy Workspace
Materials Required:
3 Pint Mason Jars (or any size that suits your needs)
Black & White Baker’s Twine
Decorative wrapping paper in your preferred pattern
Gift tags or chalkboard tags
Chalkboard paint for labeling
Scissors, clear tape, and hot glue gun
Step-by-Step Instructions:
Begin by measuring the height of each mason jar to cut pieces of decorative wrapping paper that fit snugly around the jars. Wrap the paper around each jar, securing with clear tape or a dab of hot glue for a neat finish. Next, wrap a piece of black and white baker’s twine around the neck of each jar for added decor and texture. Attach gift tags or chalkboard labels to designate your supplies—pens, paper clips, scissors, or stationery—making your workspace both functional and stylish. This project not only organizes your items but also adds a charming, handcrafted touch to your desk, encouraging productivity and aesthetic appeal.
Colorful Votive Mason Jars to Brighten Any Room
Materials Needed:
Mason jars (any size)
Glossy Mod Podge adhesive
Food coloring in various shades
Gold paint pen for detailing
Directions:
Mix food coloring with an ample amount of glossy Mod Podge to create vibrant colored adhesives. Use a spoon or brush to swirl the colorful mixture inside the jar, creating a stained-glass effect. Allow the jars to dry fully, which can take several hours. Once dry, use a gold paint pen to draw delicate designs or accents on the exterior, adding a personalized and elegant touch. These colorful votive jars are perfect for ambient lighting during evenings or special occasions, and they also make thoughtful handmade gifts. Their vibrant hues can uplift any room's decor and create a warm, inviting atmosphere.
Mini Aquarium Mason Jars for a Nautical Touch
Materials Required:
A small pint-sized mason jar
Miniature sea life figurines (fish, starfish, seashells)
Plastic aquarium plants
Colored aquarium gravel
Filtered water
Blue food coloring
Step-by-Step Guide:
Fill the bottom of the jar with a layer of colorful gravel to simulate the ocean floor. Arrange plastic plants and place miniature sea life figurines to create a lively underwater scene. Carefully pour filtered water into the jar until it's nearly full, adding a few drops of blue food coloring to give the water a stunning blue hue reminiscent of the sea. Seal the jar with the lid and display it as a tabletop decor or a charming centerpiece. This mini aquarium is a fun, low-maintenance decorative piece that brings a coastal vibe indoors, ideal for beach-themed rooms or nautical decor enthusiasts.
Spring-Inspired Striped Mason Jars for a Fresh Look
Materials Needed:
Mason jars
Painter’s tape or masking tape
Chalky finish paints in white and your favorite spring colors (pastel pinks, blues, greens, yellows)
Sealer or crème wax for durability
Foam brushes for painting
Sandpaper for distressing
Creating the Design:
Start by painting the jars white as a base coat, allowing them to dry completely. Use painter’s tape to create stripes or patterns of your choice. Paint over the taped areas with pastel or bright spring colors. Once the paint is dry, gently distress the surface with sandpaper to achieve a rustic, vintage look. Finish by sealing the jars with a clear sealer or crème wax to protect your design. These striped jars are perfect for holding spring flowers, candles, or other decorative items, instantly uplifting your home’s ambiance with a fresh, seasonal touch.
Fabric Decor Mason Jars for a Cozy Vibe
Materials Needed:
Any size Mason jar
Cotton fabric in your preferred print or pattern
Mod Podge or fabric glue
Scissors
Paintbrush for application
How to Make:
Measure and cut fabric strips that will fit inside the opening of your jar or wrap around the outside for a different look. Apply Mod Podge or fabric glue to attach the fabric securely to the inner or outer surface of the jar. For an inside-fabric look, tuck the edges neatly and use a brush to smooth out any wrinkles. The fabric adds texture and warmth, making these jars perfect for storage, flower arrangements, or simply as decorative accent pieces that add a cozy, handcrafted feel to your home. This project is ideal for adding a personalized touch to your decor with minimal effort and cost.
DIY Tissue Holder Mason Jars for a Functional Decor
Materials Required:
Mason jar with lid
Decorative scrapbook or craft paper
Glue stick or craft glue
Spray paint (for painting the lid)
Paint or craft paint (for the jar)
Scissors
Box tissues for inside
How to Assemble:
Start by painting the mason jar and its lid, giving your tissue holder a vibrant or subtle color that complements your decor. Cut the scrapbook paper to size and glue it onto the lid to add decorative flair. Carefully cut an X in the center of the lid to allow tissue dispensing. Place a box of tissues inside the jar, screw the painted lid on, and watch as your functional and attractive tissue holder seamlessly blends into your bathroom or living room decor. It's a practical DIY project that adds a charming, handcrafted element to everyday essentials, making your space feel more personalized and welcoming.