Comprehensive Guide to Creating Custom Embroidered Patches for Personal and Commercial Use
This comprehensive guide provides detailed steps to design and produce custom embroidered patches, covering size, shape, design, and production tips. Perfect for fashion enthusiasts and business owners alike, it emphasizes quality, creativity, and trend awareness for impactful results.
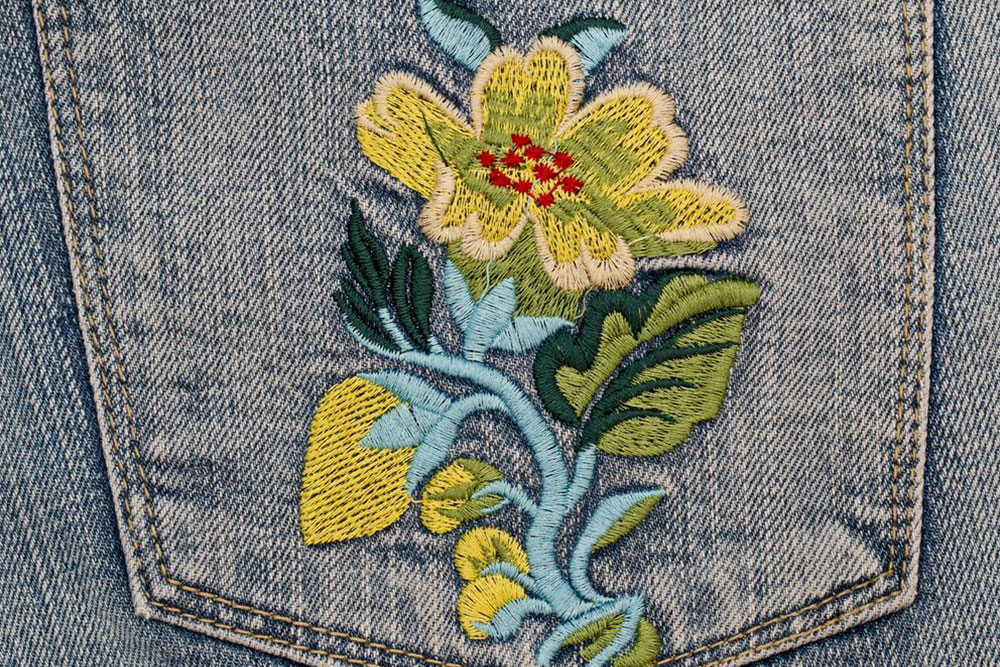
Embroidery patches have become a popular accessory for adding a personalized touch to clothing and accessories. Whether you want to enhance your fashion statement or create promotional items for your business, custom embroidered patches offer a versatile and stylish solution. These patches can be sewn or ironed onto jackets, hats, bags, uniforms, and other fabric items, allowing for endless creative possibilities. Developing your own custom patches involves a thoughtful process, from selecting the right size and shape to designing an impactful image or message. This comprehensive guide will walk you through the essential steps to design and produce personalized embroidered patches that truly reflect your style or branding goals.
Understanding the Appeal of Custom Embroidered Patches
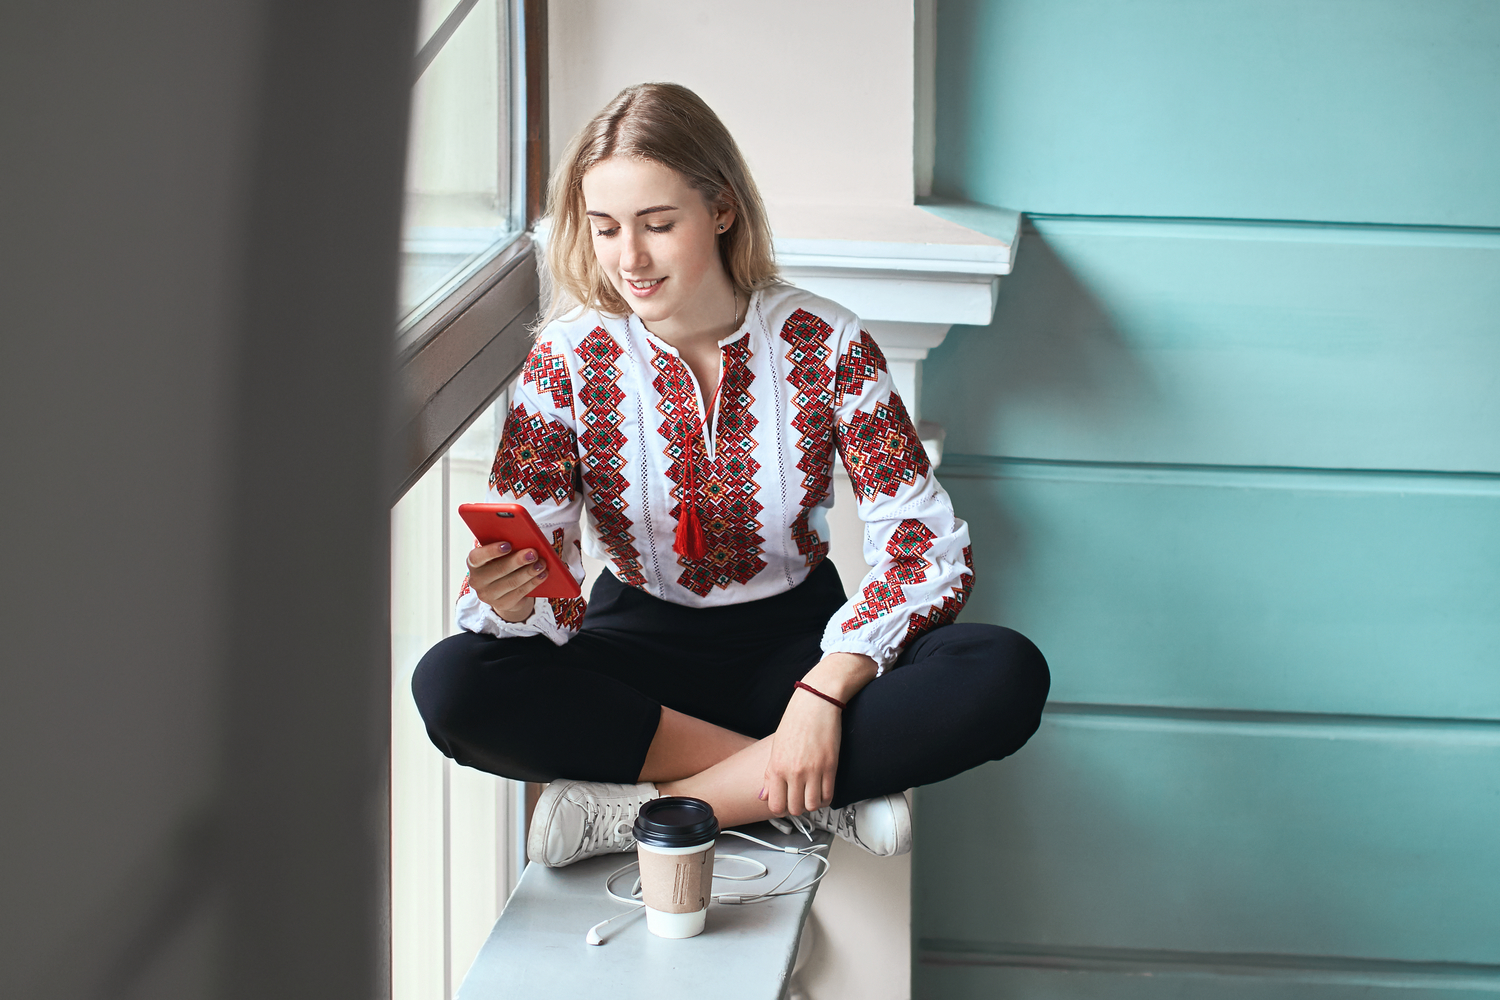
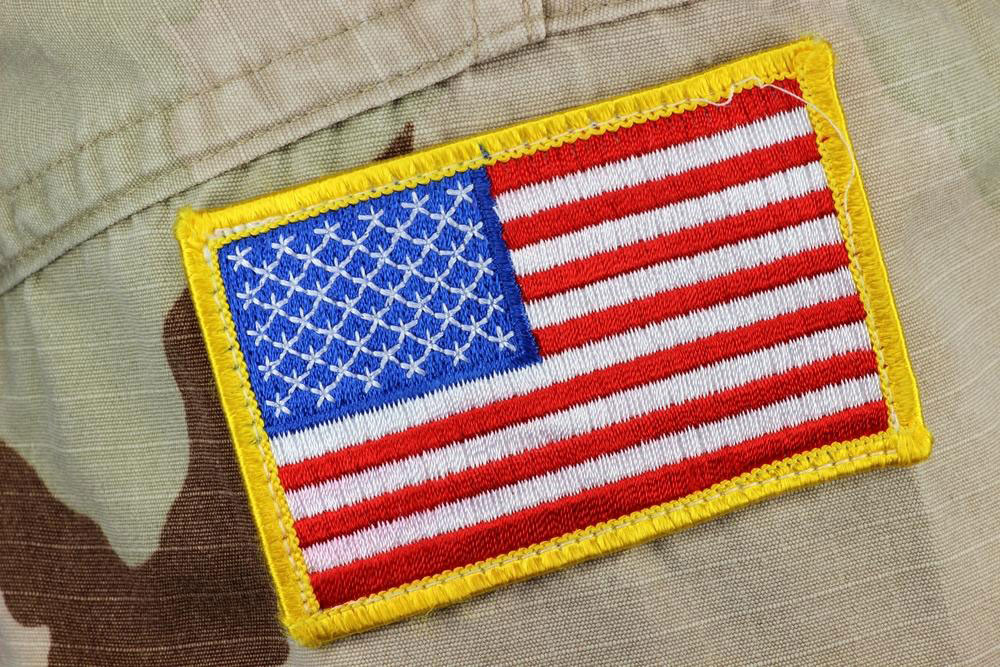
Custom embroidered patches have gained significant traction in both fashion and business sectors due to their durability, aesthetic appeal, and ability to convey a message or identity powerfully. Trends indicate a growing preference for unique, handcrafted details that set fashion items apart. Patches serve not only as decorative elements but also as symbols of belonging, support, or brand identity. For corporate or team uniforms, well-designed patches foster unity and professionalism. For individuals, patches are an excellent way to showcase personal interests, humor, or artistic expression.
Step 1: Selecting the Appropriate Size for Your Patch
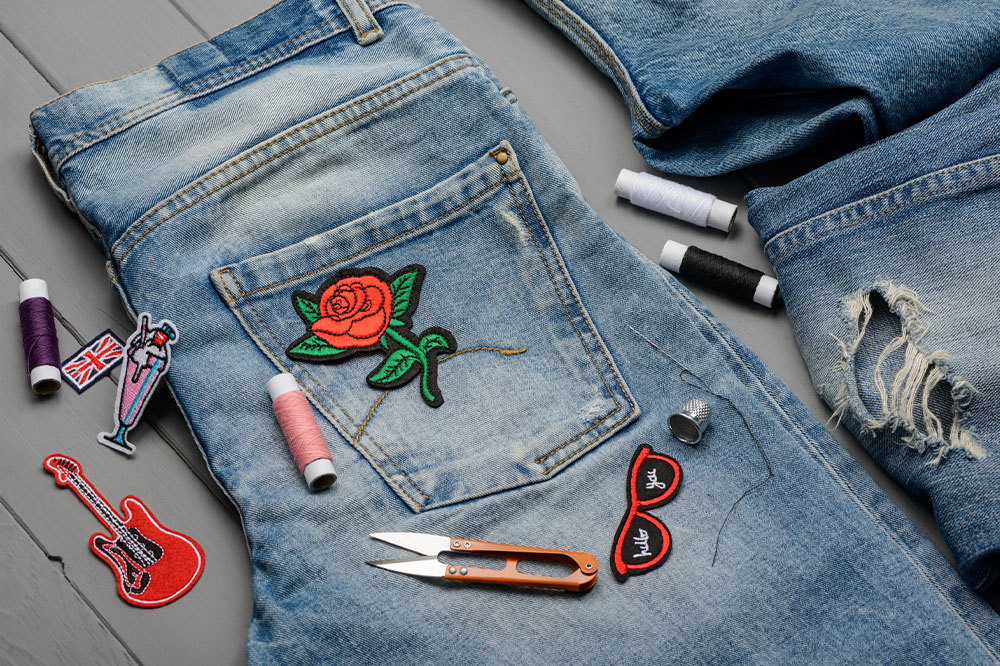
The first consideration in creating a custom embroidered patch is choosing the correct size. The size directly influences the visual impact and practicality of the patch. Generally, smaller patches ranging from 2 to 4 inches are suitable for accessories like hats, caps, or small areas on jeans or backpacks. On the other hand, larger patches, measuring 8 to 12 inches, are ideal for back designs, jacket sleeves, or larger items where a more prominent visual is desired.
It's important to consider the intended placement and purpose of the patch. A patch that's too large for a small item can look overwhelming, while a tiny patch on a large surface might not be noticeable. Measure the area carefully and visualize how the patch will integrate with the overall design of the item. Precise sizing not only enhances aesthetic appeal but also ensures that the patch fits seamlessly without causing discomfort or appearing misplaced.
Step 2: Choosing the Shape of Your Embroidered Patch
The shape of the patch plays a crucial role in how your design is perceived. Basic shapes such as circles, squares, and ovals are widely used due to their simplicity and ease of production. These shapes provide a clean border and can accommodate most logos, symbols, or text. If you want to stand out or match a specific theme, consider more intricate or custom-cut shapes that follow the contours of your design.
Many online manufacturers offer ready-made patches in various shapes, allowing for quick customization. For example, if you're designing a patch for a sports team, a shield or crest shape might be appropriate. For hobby clubs or personal projects, unique cutouts in the shape of an animal, object, or logo further personalize your accessory. Choosing the right shape helps in reinforcing your message and making the patch more visually engaging.
Step 3: Defining the Design and Concept
The core of your embroidered patch lies in its design and the message it conveys. Start by clarifying what you want the patch to communicate. Do you wish to display a logo, a slogan, or a symbolic image? Gathering inspiration from photos, artworks, or text snippets can help in shaping your concept clearly. Remember that simplicity often works best—highly detailed designs can become cluttered when embroidered, especially at smaller sizes.
When defining your concept, consider the colors, symbols, and fonts to be used. Choose a color palette that complements the item it will be attached to or aligns with your branding. Think about the visual impact: bold, contrasting colors tend to stand out effectively. Also, consider the message's tone—humorous, elegant, fierce, or minimal—and ensure your design language supports this.
Collaborate with a professional designer or use design software to create digital mockups. Communicate your ideas clearly, providing reference images or sketches if possible. This step is vital to avoid misunderstandings and to produce a patch that aligns perfectly with your vision.
Step 4: Design Finalization and Production
Once your concept is clear and preliminary sketches are ready, it is time to finalize your design. Simplicity is key to ensure clarity when embroidered. Avoid overly complex details, tiny fonts, or intricate patterns that may not translate well into threadwork. Instead, focus on bold outlines, clear symbols, and legible text if included.
Share your finalized design with the manufacturer or embroidery service. Many providers offer sample proofs or digital previews before production begins. Review these carefully—checking color accuracy, size, and detail—to ensure the final product matches your expectations. Make any necessary adjustments to achieve the desired effect.
After approval, the production process begins. Custom embroidered patches can be made using various techniques, including traditional embroidery, chenille (for a fuzzy, textured look), or IR (infrared) printing combined with embroidery for complex effects.
When selecting a manufacturer, consider their experience, quality of materials, threading techniques, and turnaround times. Quality materials like durable threads and sturdy backing ensure your patches last through wear and washing, maintaining their appearance over time. Additionally, some manufacturers offer options for finishes such as merrow borders (overlocked edges), heat-seal backing, or iron-on adhesive for easy attachment.
Additional Tips for Creating Exceptional Custom Patches
Stay updated with current design trends to keep your patches fashionable and relevant. Incorporate popular color schemes or stylistic elements that resonate with your target audience or personal style. For example, vintage-inspired patches or minimalist designs are currently trending.
Personal touches can make your patches more unique—consider adding quotes, doodles, or small symbols that carry personal or brand significance. Don't hesitate to experiment with different shapes, sizes, and color combinations to find the perfect match for your project.
It’s also advisable to order sample patches before final bulk production. This allows you to verify the quality, appearance, and durability in real-world conditions, ensuring your final patches meet your standards.
Conclusion
Creating custom embroidered patches is a rewarding process that combines creativity with practical design considerations. Whether for fashion, branding, or personal expression, understanding each step—from size selection to final production—ensures the patches are effective and visually appealing. With proper planning and collaboration with skilled manufacturers, your custom patches will not only elevate your apparel or accessories but also serve as enduring symbols of your personality or brand. Embrace the process, stay inspired, and let your unique ideas come to life with top-quality embroidered patches tailored to your specific needs.