Ultimate Guide: 12 Professional Secrets for Flawless Lipstick Application
Learn the ultimate secrets of professional lipstick application with our comprehensive guide. Discover 12 expert tips to create flawless, long-lasting, and beautifully defined lips. From prepping your lips to innovative blending techniques, elevate your makeup game and achieve perfectly polished looks every time. Suitable for all styles and occasions, these tips help you master color application, enhance volume, and ensure your lips stay stunning throughout the day or night. Perfect for makeup enthusiasts and professionals alike, this guide transforms your lip makeup routine into an art form.
Mastering the Art of Perfect Lipstick: 12 Pro Tips to Elevate Your Lip Makeup
Achieving that impeccable lipstick look can sometimes feel challenging, even with the most stunning shades and textures at your fingertips. Proper application not only enhances your overall makeup aesthetic but also boosts your confidence, making your lips the focal point of your beauty routine. Whether you're preparing for a special event, everyday wear, or just want a polished appearance, understanding the nuances of lipstick application is essential. Here, we present an extensive guide featuring 12 expert-approved tips that will help you master the art of applying lipstick flawlessly. From prepping your lips to creating long-lasting color, these strategies cover everything you need to know to make your lips look perfect every time.
Utilize your ring finger for a softer, natural look
This technique involves lightly dabbing lipstick onto your fingertips and gently pressing it onto your lips. This method softens the pigmentation, resulting in a more natural, plush appearance. It’s perfect for those aiming for a subtle tint or a softer finish that mimics the look of a plush, velvety pout without the harshness of direct application. This approach also helps in controlling the amount of product transferred, avoiding over-application and creating a more even, blended look.
Regularly exfoliate your lips for a smooth canvas
Lip exfoliation is a critical step often overlooked. Using gentle lip scrubs or a soft toothbrush can remove dry, flaky skin, revealing a smooth surface ideal for applying lipstick. Consistent exfoliation prevents uneven pigment absorption and ensures your lipstick glides on smoothly, reducing the risk of cracks or uneven coloring. In addition to regular scrubbing, incorporating hydrating ingredients can help maintain soft, supple lips that are ready for the perfect application every time.
Keep lips hydrated for optimal application
Hydration is the foundation of a perfect lipstick look. Apply a moisturizing lip balm or serum prior to makeup application to hydrate and plump your lips. Well-hydrated lips prevent dryness, cracking, and peeling, which can hinder a clean application. Wait a few minutes after moisturizing to allow excess product to absorb, leaving a supple base for your chosen lipstick shade. Hydrated lips also help in achieving a more vivid and true-to-tone color payoff, enhancing the overall finished look.
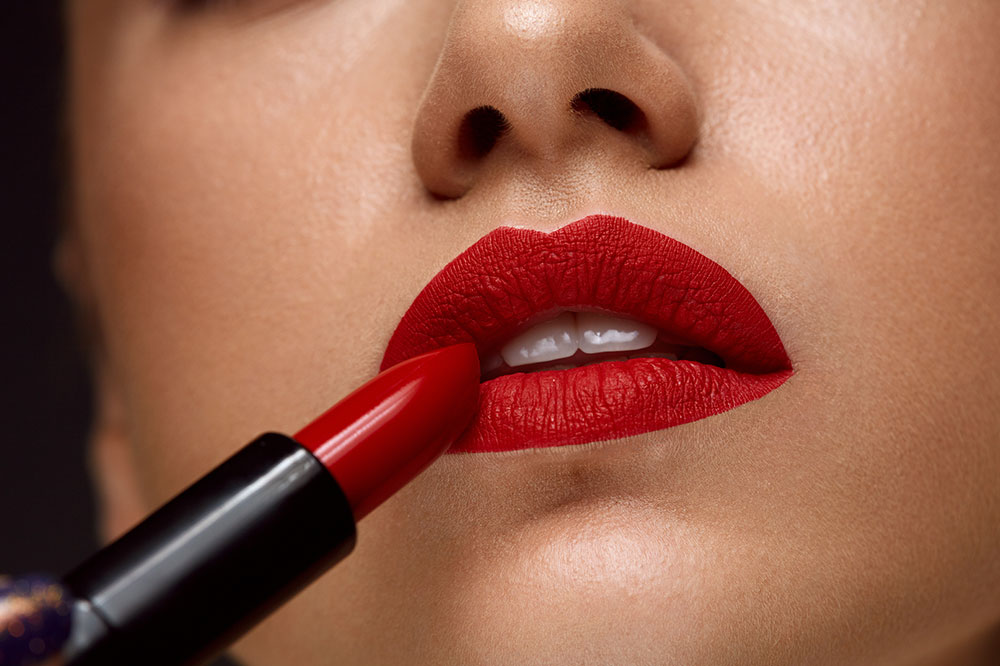
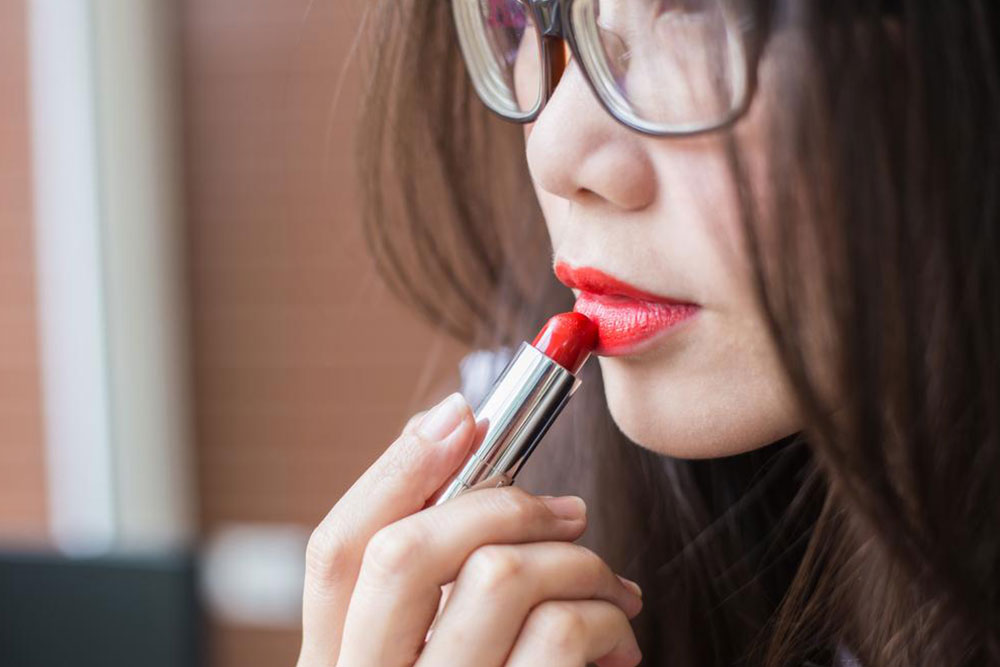
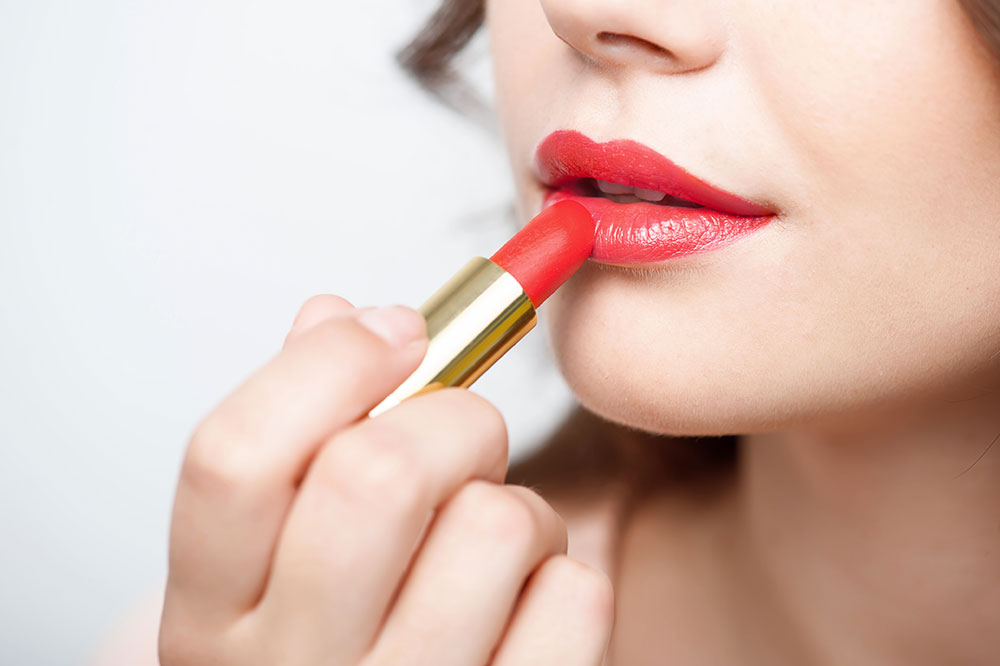
Apply lipstick directly from the tube for quick, precise color
For most traditional tube lipsticks, direct application from the bullet provides quick, convenient, and precise color placement. This method is especially effective for those who favor bold, monochromatic looks or are pressed for time. However, be mindful of the formula; while matte and satin finishes are often suitable for direct application, liquid lipsticks or highly pigmented shades might require a different approach or a lip brush for better control.
Define your lips with a coordinating lip liner
Using a lip liner slightly lighter or matching your lipstick shade helps in defining your lips' shape and preventing color bleed. For a fuller, more voluminous appearance, choose a liner that’s a shade or two lighter than your lipstick. Carefully outline your lips, then fill in with the liner to create a base that helps the lipstick adhere better and stay in place longer. Proper lining also enhances symmetry and can correct minor imperfections, resulting in a polished look.
Gently blot after applying lipstick for a matte, smudge-proof finish
After applying your lipstick, lightly blot your lips with a tissue. This step removes excess product, reduces the risk of smudging as the lipstick sets, and helps achieve a matte, velvety finish. For an even longer-lasting effect, repeat the process by applying a second layer of lipstick, blotting again, and adding a touch of translucent powder through the tissue to lock in the color. This technique ensures your lipstick remains vibrant and intact throughout the day.
Use gloss selectively to enhance fullness and shine
Lip gloss can add a youthful, juicy appearance to your lips. Apply gloss primarily to the center of your lips and blend outward to create the illusion of fuller, plumper lips. Using gloss strategically also prolongs the freshness of your lipstick, making it appear more vibrant and alive. Choose a clear, subtle gloss for a natural shine, or experiment with tinted glosses for added color depth. Remember, less is more—highlighting the center prevents the entire lip from being coated and keeps the look balanced.
Improve longevity with lip primer and matching liner
To maximize the staying power of your lipstick, start by outlining your lips with a matching or slightly lighter lip liner. This creates a base that helps the color adhere better and minimizes feathering or bleeding. Some beauty experts also recommend using a lip primer before applying lipstick for even longer wear. These primers create a smooth surface, enhance pigmentation, and act as a barrier against moisture loss, ensuring your lip color stays vibrant and hydrated throughout the day.
Avoid rubbing lips together to prevent smudging
It might be tempting to press your lips together after applying lipstick, but this can disturb the precise application and cause smudging or uneven distribution of color. Instead, gently press your lips with a tissue or let the lipstick set for a few seconds. This prevents unnecessary transfer and maintains the integrity of the shape you’ve created. A light touch helps to preserve the crisp lines and avoids the mess that can come from too much rubbing.
Use a lip brush for detailed, precise application
For those aiming for meticulous, professional results, a lip brush is invaluable. It provides better control over the shape and allows for precise lining and filling in of color. Use the brush to carefully define the borders, especially in tricky areas like the Cupid’s bow or corners of the mouth. Additionally, a brush can help blend multiple shades or textures seamlessly, giving you endless possibilities for creating custom looks tailored to your style or occasion.
DIY Custom Lip Colors with simple ingredients
Out of your favorite lipstick? No problem! You can craft your own unique shades using simple household items. Mix Vaseline with a dab of eyeshadow or blush to create a quick, personalized lip color. This method allows you to experiment with different hues and textures, ensuring your lips are always coordinated with your overall look. Custom creations can be fun, cost-effective, and a creative way to showcase your individuality.
Explore blending techniques for unique shades and finishes
Experimenting with combining different lipsticks or textures can unlock a spectrum of personalized shades and finishes. Blend a matte and gloss, or layer contrasting colors for a gradient effect. This approach not only adds depth and dimension to your lips but also allows you to match your lipstick perfectly with your outfit, mood, or season. Creativity is the key—don’t shy away from trying unexpected combinations for truly signature looks that stand out.
