Ultimate Guide to Effortless and Effective Stainless Steel Grill Maintenance
This comprehensive guide covers effective strategies for cleaning your stainless steel grill, focusing on detailed steps for scrubbing the grates, cleaning internal components, and maintaining the exterior. Regular maintenance prevents buildup, rust, and damage, extending your grill’s lifespan and ensuring optimal performance for perfect barbecues. Learn essential tips to keep your grill looking new and functioning efficiently all year round, especially as seasons change. Achieve professional-level results with simple, targeted cleaning techniques that make outdoor cooking safer and more enjoyable.
Ultimate Guide to Effortless and Effective Stainless Steel Grill Maintenance
Keeping your stainless steel grill pristine is crucial for delivering mouthwatering barbecue flavors and ensuring the durability of your outdoor cooking equipment. As the seasons change and winter approaches, giving your grill a thorough cleaning becomes even more vital to maintain optimal performance and hygiene. Regular maintenance prevents grease buildup, rust, and corrosion, all of which can compromise your grill’s longevity. An expertly cleaned grill not only looks appealing but also functions efficiently, ensuring every cookout is a success.
The cleaning regimen involves three comprehensive steps: meticulously scrubbing the cooking grates, thoroughly cleaning internal components, and wiping down the exterior surfaces. This structured approach allows you to tackle all areas effectively, keeping your grill in top-notch condition for many seasons to come.
Step 1: Deep Cleaning the Cooking Grates
Begin by creating a cleaning paste using ¼ cup (about 45 grams) of baking soda mixed with warm water. This natural abrasive helps lift stubborn grease and residues from the metal surfaces. Generously apply this paste on all parts of the grill’s cooking grates, ensuring coverage of all stubborn stains and carbon deposits. Allow the paste to sit for at least 20 minutes to penetrate and loosen grime. For gravely soiled grates, especially those neglected over the winter, it's best to remove the grates from the grill for easier handling and thorough cleaning. For heavily stained areas, you can even leave the baking soda paste overnight for maximum cleaning power. If your grill has accumulated significant grease and grime over months of use, consider applying an oven cleaner spray—spray it on both sides of the grate, then enclose the grate in a plastic bag overnight. The next day, scrub the residue with a wire brush, rinse thoroughly with water, and dry completely before reinstalling. Repeat the process if stubborn stains remain.
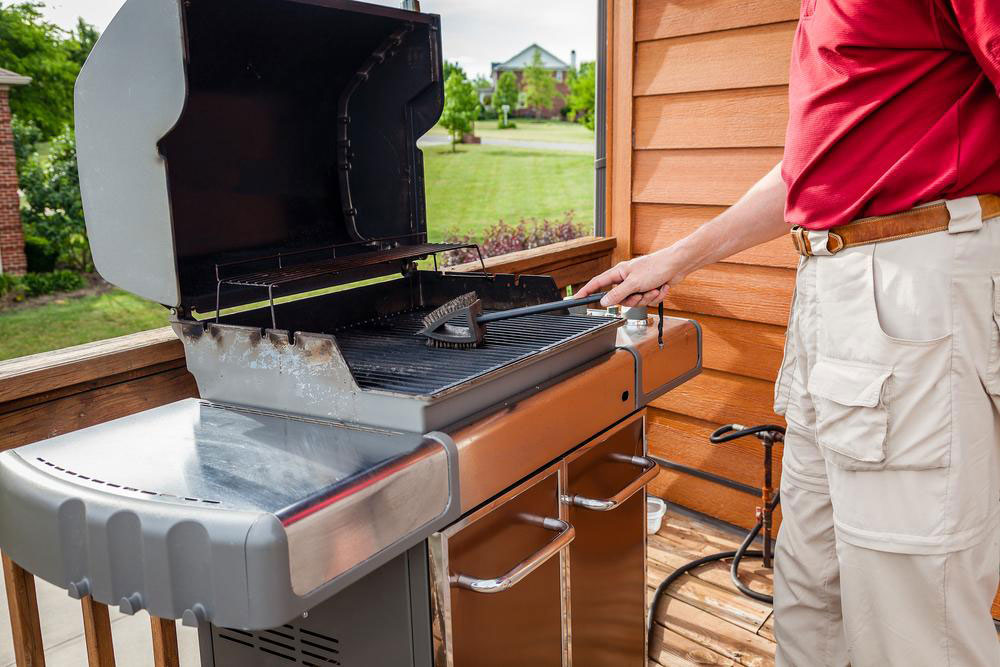
To finish cleaning the grates, utilize a sturdy wire grill brush, working carefully along all bars to dislodge residual debris. Rinse the grates with clean water to remove any remaining cleaning agents or loosened grime, then dry thoroughly with a clean towel or microfiber cloth. Proper maintenance through regular cleaning prevents grease buildup and rust formation, hence prolonging the lifespan of your grill and enhancing its cooking performance.
Step 2: Comprehensive Internal Cleaning
The internal parts of your grill, especially the burners and venturi tubes, are critical for proper airflow and efficient cooking. Food residues and grease can clog these components, reducing heat output and causing uneven cooking. Use a dry wire brush to scrub removable parts, such as burner covers and reflector plates. After cooling, wipe the interior with a paper towel or soft cloth to remove any loose debris. For ceramic burners, preheat the grill for about 10 minutes to loosen debris, then allow it to cool before carefully removing and cleaning any residual buildup with tweezers or brushes designed for delicate surfaces. Pay special attention to the venturi tubes, which channel gas to the burners; clean them with soapy water, ensuring the small holes are free from obstructions to maintain optimal gas flow.
Don’t forget to check and clean the grease traps and grease management systems, removing accumulated fat and debris to prevent flare-ups and fire hazards. Regular internal cleaning improves not only the grill’s longevity but also enhances safety and cooking efficiency.
Step 3: Exterior Surface Care
Maintaining the exterior of your stainless steel grill is essential for aesthetic appeal and corrosion prevention. Use a mixture of warm water with a few drops of mild dish soap to clean the outer surfaces. Dampen a microfiber cloth or a soft sponge in this solution, then wipe down all visible areas, paying attention to corners, knobs, and handles. Avoid harsh or abrasive cleaners, as they can scratch and mar the finish. For stubborn spots or fingerprints, use a dedicated stainless steel cleaner or a mixture of equal parts vinegar and water. After cleaning, buff the surface with a soft microfiber cloth to restore shine and prevent water spots. This upkeep not only keeps your grill looking brand new but also protects it from environmental elements that can cause rust or corrosion over time.
Performing these detailed cleaning and maintenance steps on your stainless steel grill regularly, ideally after each use or at least once every few months, will ensure it remains in peak condition. Proper care prolongs the lifespan of your grill, enhances its safety, and guarantees delicious, perfectly cooked meals each time you fire it up. Investing time in thorough cleaning is a small effort with significant long-term benefits, turning your outdoor cooking experience into a truly enjoyable and reliable activity.
