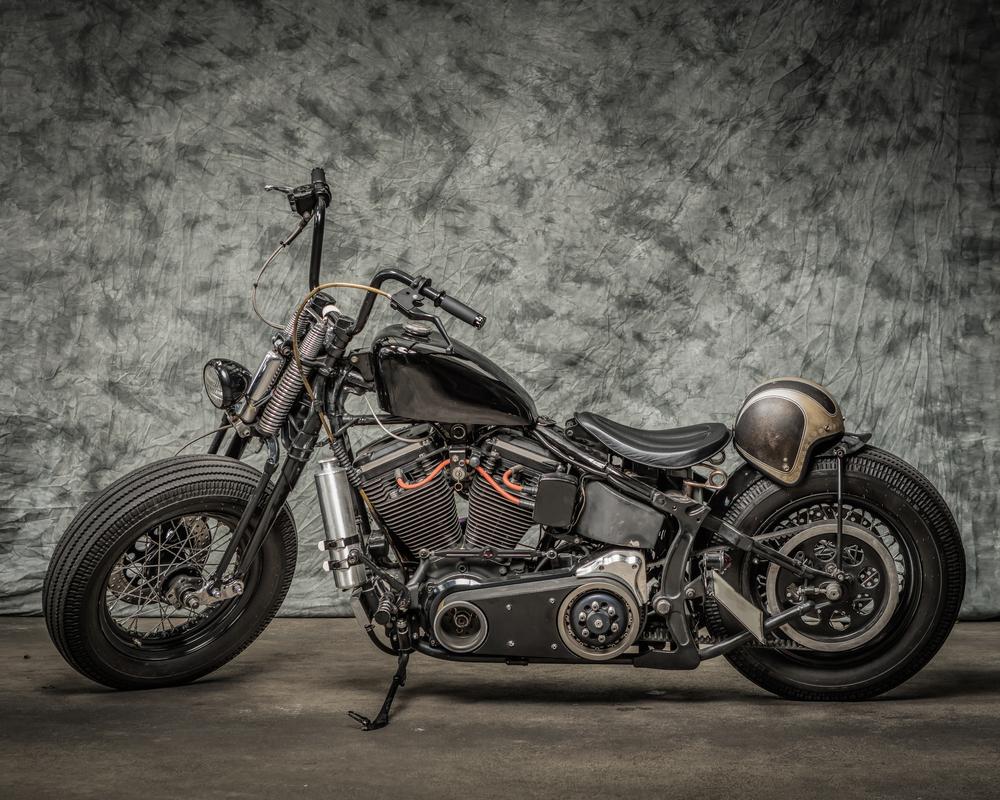
Comprehensive DIY Maintenance and Cleaning Guide for Harley Davidson Motorcycles
This comprehensive DIY guide provides Harley Davidson owners with expert tips on maintenance and cleaning. From preparation to detailed cleaning procedures, learn how to keep your motorcycle in top shape, save money, and personalize your ride. Including essential supplies and step-by-step instructions, this article empowers you to maintain your Harley confidently and effectively.
Comprehensive DIY Maintenance and Cleaning Guide for Harley Davidson Motorcycles
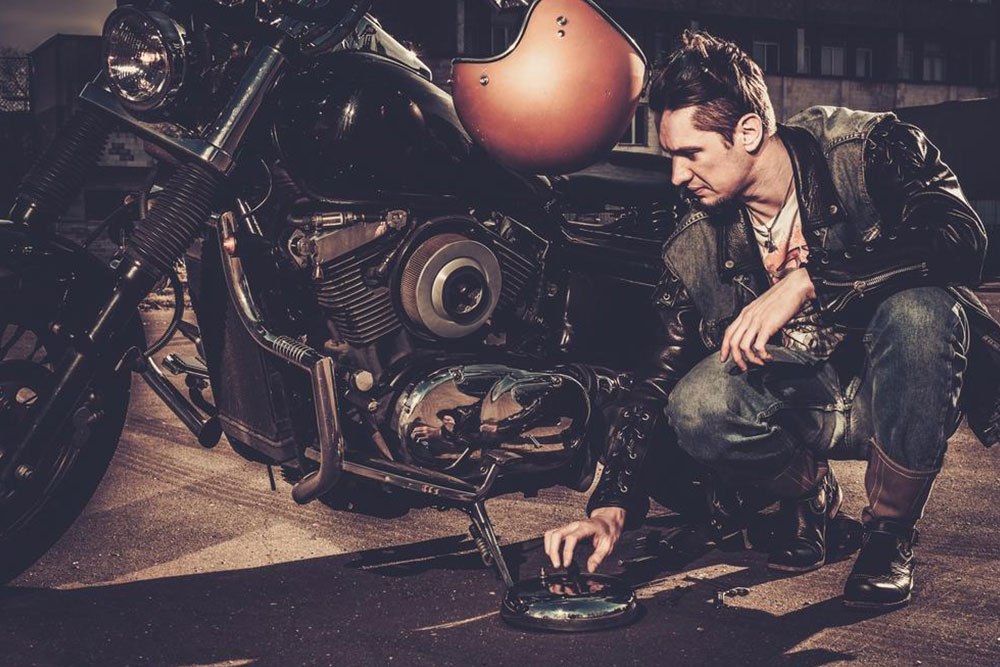
Owning a Harley Davidson is more than just riding; it’s about appreciating the craftsmanship and ensuring your motorcycle stays in top condition for years to come. Regular maintenance and cleaning are essential to preserve both the aesthetic appeal and the mechanical performance of your Harley. While professional service centers offer expert care, they often come with a hefty price tag. Doing maintenance and cleaning yourself not only saves money but also deepens your connection with your bike, allowing you to spot potential issues early and customize your motorcycle to your preferences. This detailed guide provides step-by-step instructions, essential tips, and recommended products to help you perform DIY maintenance with confidence and ease.
Preparation Steps for DIY Harley Maintenance
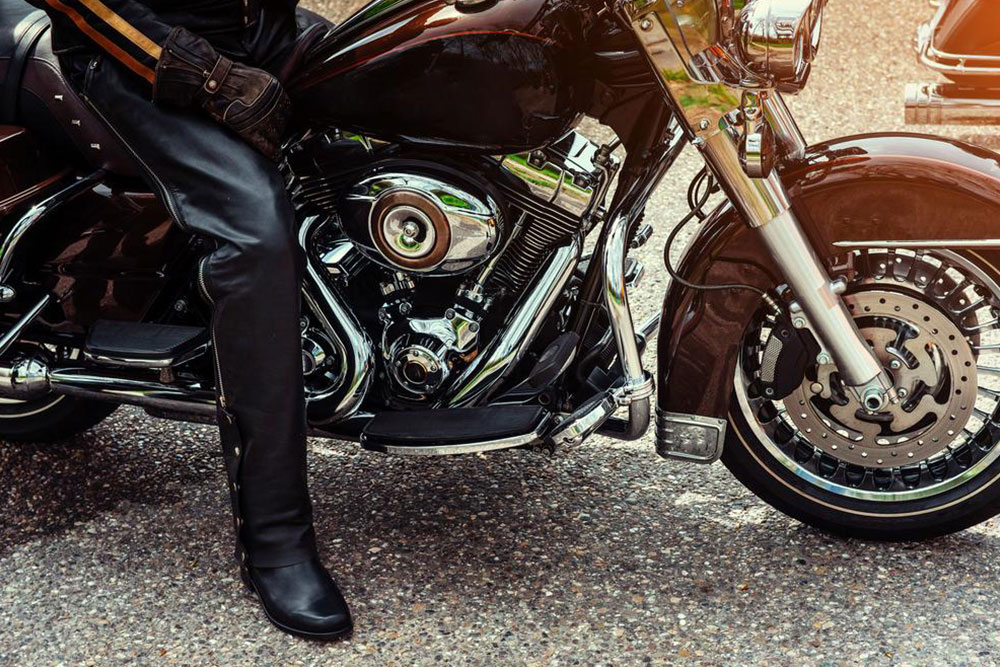
Before diving into cleaning or maintenance tasks, proper planning and preparation are crucial. Start by parking your Harley Davidson on a flat, stable surface, such as a garage floor or driveway, ensuring the area is secure and free of obstacles. Choosing a shaded spot is ideal to protect your bike from direct sunlight, which can cause water spots and make cleaning products evaporate too quickly. Remove all jewelry and accessories to prevent accidental scratches or damage during the cleaning process. Additionally, it’s wise to wear gloves to keep your hands clean and protected from cleaning agents. To facilitate effective dirt removal, rinse your motorcycle with a garden hose, gently washing away loose dirt and debris. This helps prevent scratching during the actual cleaning process. Always refer to your bike's owner’s manual to understand specific parts and recommended cleaning procedures. This ensures that you use compatible cleaning products and avoid any damage to sensitive components.
Essential Cleaning Supplies
Specialized motorcycle cleaning agents designed for bikes
pH-balanced motorcycle shampoo for thorough cleaning
Soft brushes, microfiber cloths, and sponges for gentle scrubbing
Garden hose, buckets, and warm water for rinsing
Step-by-Step Cleaning and Maintenance Process
Begin the cleaning process by spraying cleaning agents into difficult-to-reach areas such as engine crevices, wheel hubs, and beneath the fenders. This loosens stubborn dirt, grease, and grime. Always start from the top of your Harley and work downward to prevent dirt from settling on already cleaned areas. Use soft brushes or microfibers on oily spots to avoid scratching the paint and chrome finishes. Let the cleaner sit for a few minutes, allowing it to break down dirt, before rinsing thoroughly with water. When washing your motorcycle, use a sponge dipped in warm, soapy water — formulated specifically for bikes — to gently clean all surfaces. Pay attention to the gas tank, fairings, and seat area, ensuring that all surfaces are properly cleaned without excessive pressure that might damage the paint or decals.
After washing, dry the motorcycle meticulously using a chamois, microfiber towel, or terry cloth. This prevents water spots and corrosion. For faster drying, a leaf blower or air compressor can be used to remove residual water from crevices and hard-to-reach areas. Inspect the paint finish and water behavior on the surface; water forming uniform droplets indicates a good shine. If the surface looks dull or water spreads unevenly, consider applying a high-quality wax or polish for extra protection and enhanced gloss. Whether you choose to do this yourself or seek professional assistance, waxing protects against environmental elements and maintains your bike's aesthetic appeal.
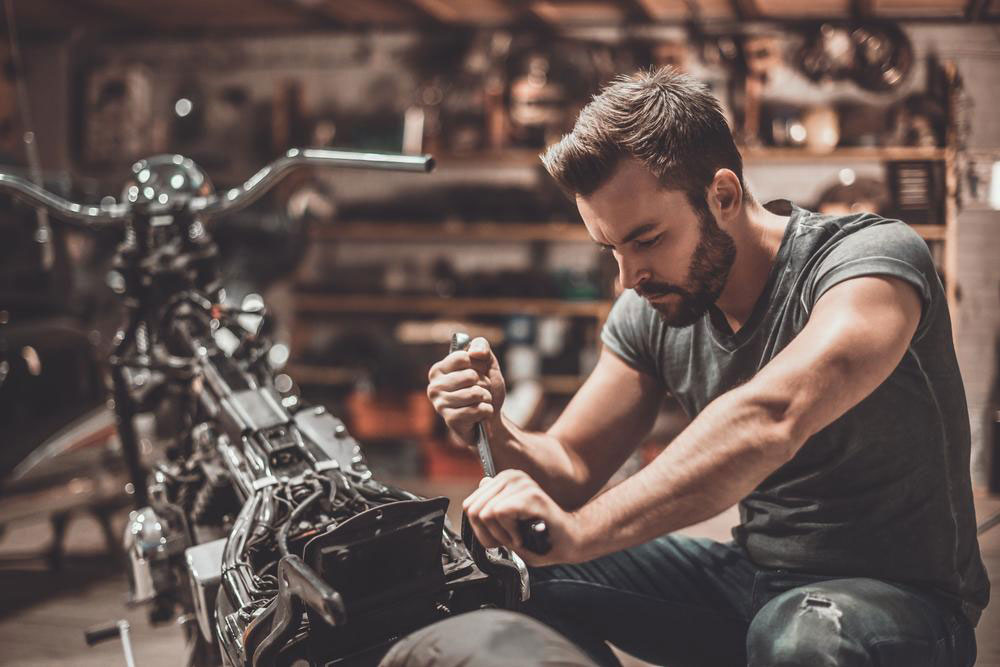
Remember, regular maintenance isn’t just about cleaning. Periodically check your tire pressures, fluid levels, brake pads, and chain tension, following your Harley’s maintenance schedule. These routine inspections help prevent costly repairs down the line and ensure your motorcycle performs optimally on every ride.
In conclusion, performing DIY maintenance and cleaning on your Harley Davidson not only saves money but also enhances your mechanical understanding and riding experience. Equipped with the right tools, cleaning products, and a systematic approach, you can keep your motorcycle looking pristine and functioning perfectly for many miles to come. Always prioritize safety and refer to your owner’s manual for specific guidance, and don’t hesitate to seek professional help for complex repairs or adjustments that require specialized knowledge or tools.