Comprehensive DIY Guide: How to Safely Replace Your Car Windshield
This comprehensive guide provides detailed, step-by-step instructions for safely replacing your vehicle's windshield at home. From sourcing quality materials to proper installation and curing, learn how to ensure your vehicle remains safe and compliant with safety standards. Perfect for DIY enthusiasts, this article emphasizes safety precautions and proper techniques to prevent damage and injuries, enabling vehicle owners to undertake windshield replacement confidently and effectively.
Step-by-Step Process for Replacing Your Vehicle's Windshield at Home
Cracked or damaged windshields are more than just an aesthetic issue; they pose significant safety risks to both drivers and passengers. The integrity of your vehicle's windshield is vital for the structural stability of the car and for ensuring the safety systems, such as airbags and sensors, function correctly during a collision. Promptly addressing windshield damage by replacing or repairing it is essential to maintain your vehicle's safety standards. While the internet offers numerous options for purchasing affordable windshields, vehicle owners must exercise caution. Improper installation can compromise safety laws, potentially leading to legal issues and increased safety hazards. Often, damage results from road debris, traffic accidents, or adverse weather conditions. Many accidents involving flying debris can be minimized by maintaining a safe distance behind large vehicles like trucks and buses, which tend to kick up gravel and other hazards. However, if your windshield sustains damage, understanding how to replace it properly can save money and time, provided you adhere to the correct procedures and safety precautions.
Before starting, park your vehicle in a safe, shaded location away from trees, power poles, signs, or any objects that could interfere with the removal or installation process. Consider installing dash cameras or external security cameras to document the damage, which can be helpful for insurance claims. Proper documentation can expedite your claim process and provide evidence if disputes arise. Choosing to replace your windshield yourself requires patience, precision, and the right tools. Incorrect handling can lead to further damage or injury, so it's critical to proceed carefully. Here's a detailed guide to help you replace your windshield safely and effectively:
Start by sourcing a high-quality, reliable windshield from a reputable supplier. While cost is a consideration, quality and safety must take precedence. Ensure you select a windshield that meets manufacturer specifications for your vehicle make and model.
Carefully remove the old windshield by detaching the rubber or metal beading that holds it in place. Use a windshield removal knife or a specialized pry tool designed for this purpose. Be gentle to avoid damaging the surrounding paint or trim. If the beading is stubborn, applying heat can loosen adhesives and help facilitate removal.
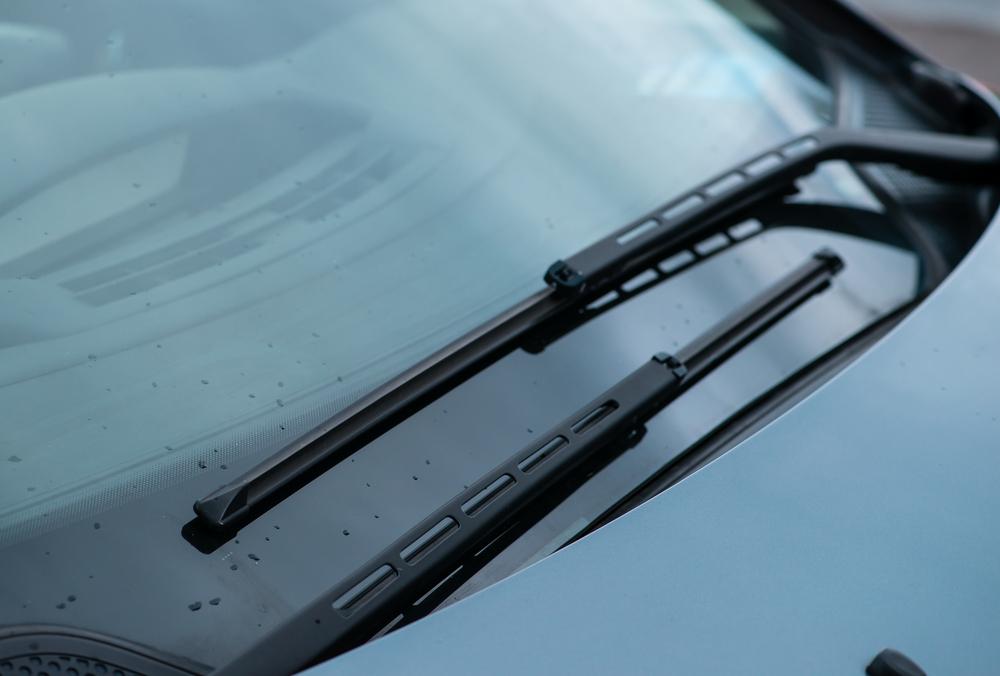
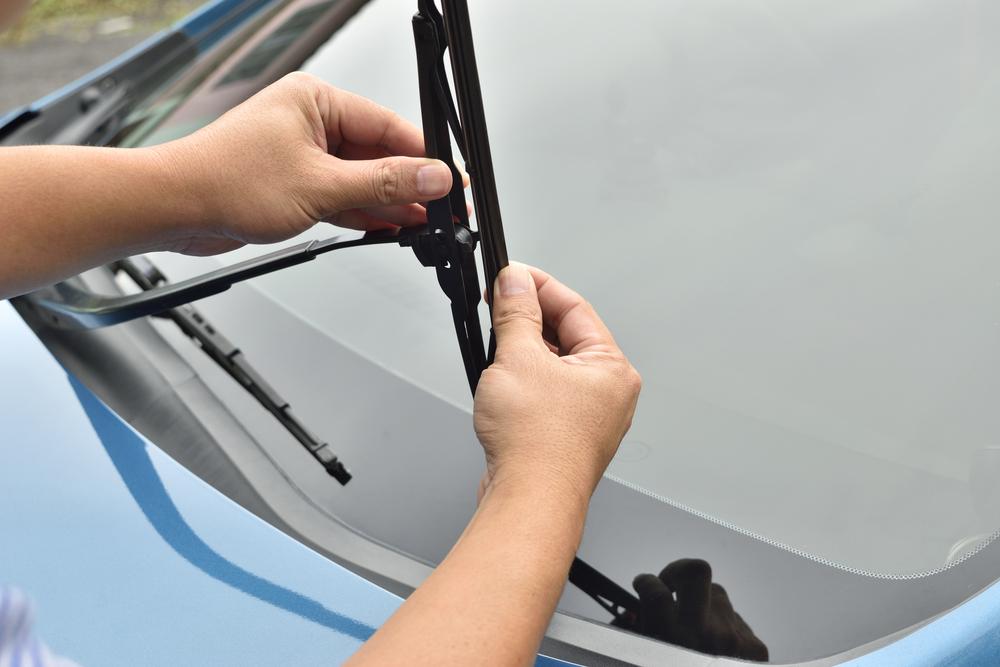
Remove the windshield wiper arms by unbolting them carefully, making note of their position for reinstallation. This step prevents damage to the wipers and ensures a proper fit when reinstalling.
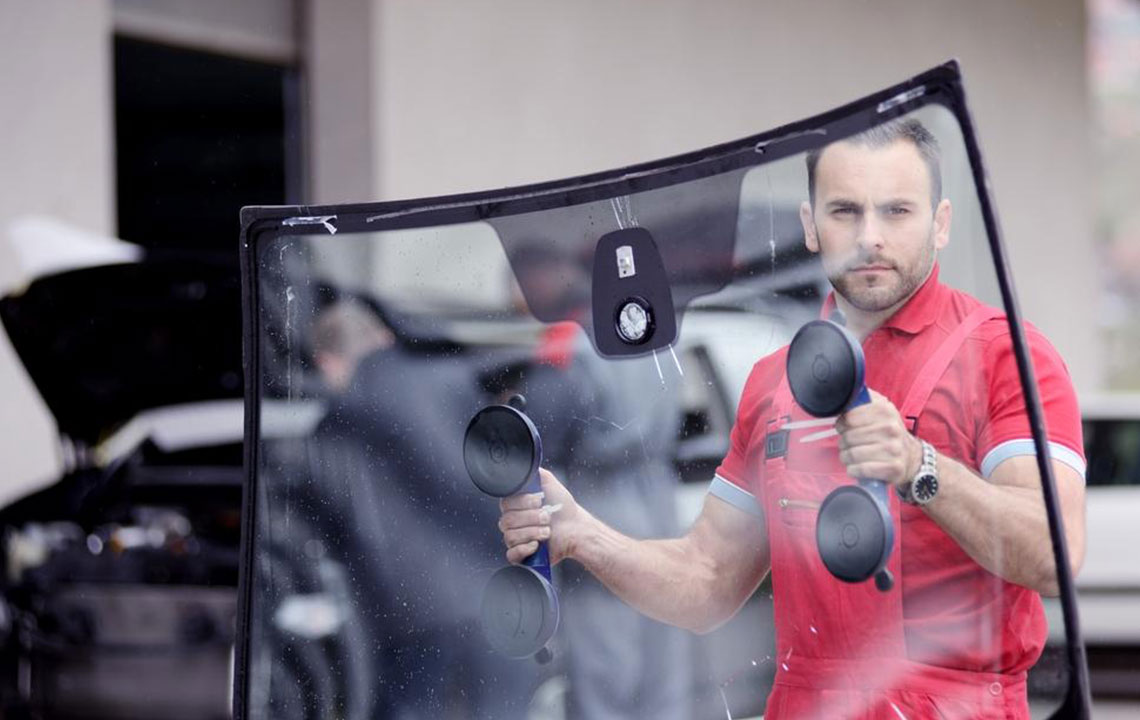
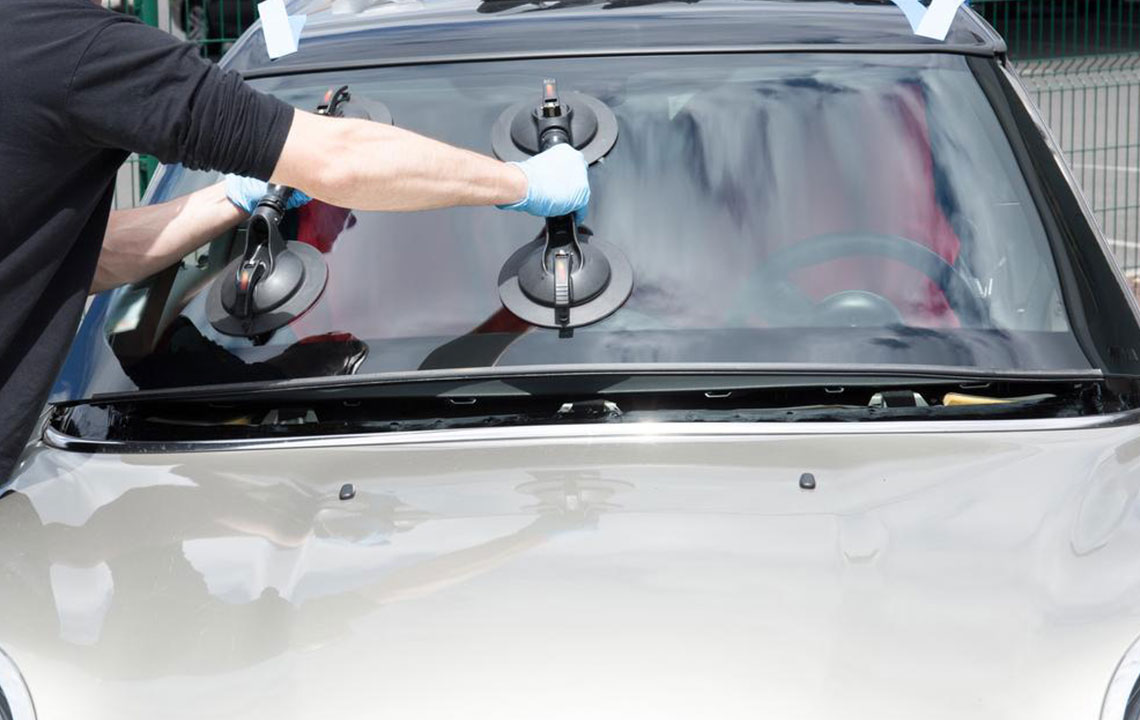
Gently push out the damaged glass from the frame, using suction cups for better grip. If suction cups are unavailable, wear strong rubber gloves for a firm hold. Be cautious during this step to avoid scratches on the vehicle’s body or injury to yourself.
Scrape off any remaining adhesive or silicone from the window frame using scrapers or a putty knife. Clean the area thoroughly with alcohol-based thinners or cleaning agents to remove old glue residues, oil, and dust. Take special care not to scratch or damage the paint around the frame during this process.
Once the area is clean and prepared, it's time to install the new windshield. Begin by applying a continuous bead of polyurethane-based adhesive or urethane windshield sealant around the perimeter of the frame. Use a caulking gun for precise application, ensuring the sealant is evenly distributed to prevent leaks and ensure a secure fit.
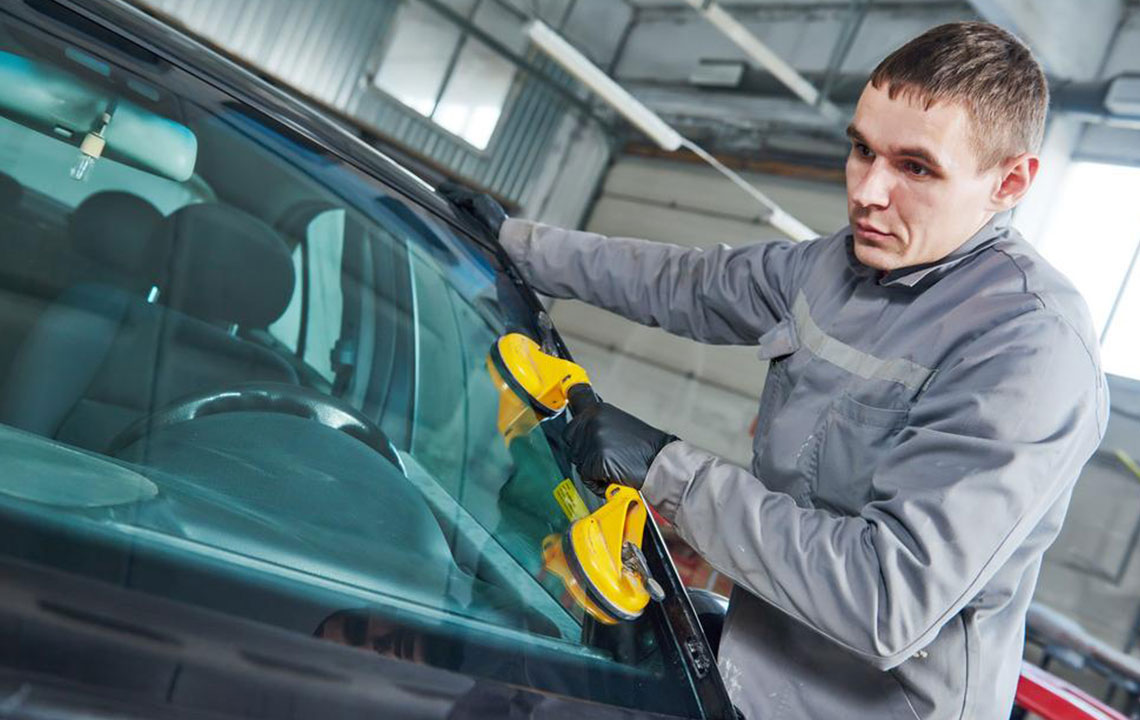
Place the new windshield carefully onto the frame, aligning it precisely with the vehicle's edges. Applying gentle pressure, press the glass into the adhesive to ensure full contact and a tight seal. Use masking tape or painter’s tape to hold the windshield in place temporarily while the adhesive cures. Allow the sealant to set for at least 4 to 6 hours, or as recommended by the manufacturer, before driving the vehicle. During this curing period, keep the vehicle in a shaded or indoor area to prevent the sun’s heat from affecting the adhesive and to avoid dust settling on the adhesive bead. Proper curing ensures the windshield is securely bonded, maintaining vehicle safety and structural integrity for years to come.
After the adhesive has fully cured, reattach the windshield wiper arms and any trim pieces removed during the process. Carefully inspect the installation for leaks or gaps, and test drive cautiously to verify that the windshield is firmly in place. If any issues are detected, consult professional repair services to correct the problem. Remember, while DIY replacement is feasible, if you're unsure about any step, seeking professional assistance is the safest choice. Professional technicians possess the expertise, equipment, and experience to perform the replacement correctly, minimizing risks and ensuring compliance with safety regulations.
In summary, replacing a windshield yourself can be a rewarding task if done carefully following proper safety protocols. By sourcing quality materials, preparing your workspace, and meticulously following each step, you can restore your vehicle's safety features at a fraction of the cost of professional services. Nonetheless, always be mindful of your limitations and when in doubt, trust licensed professionals to perform the replacement to ensure maximum safety and peace of mind.