Comprehensive Roof Replacement: Essential Strategies and Expert Advice
This comprehensive guide provides homeowners with detailed insights into roof replacement, including essential terminology, step-by-step procedures, material options, cost considerations, and maintenance tips. Understanding these aspects helps in making informed decisions, ensuring a durable and cost-effective roof to safeguard your home’s integrity. Whether planning a new roof or seeking to improve existing knowledge, this article is your go-to resource for all things related to roof replacement.

Ultimate Guide to Roof Replacement: Everything You Need to Know
Maintaining the integrity and safety of your home hinges largely on the condition of your roof. Over time, exposure to harsh weather elements, aging materials, and general wear and tear can compromise the roof’s structure, leading to leaks, water damage, and other costly issues. Regular inspections and timely replacement are critical for preserving your home’s value and ensuring the safety of its inhabitants. Understanding the intricacies of roof replacement, including the right materials, proper procedures, and cost considerations, empowers homeowners to make informed decisions and undertake projects confidently.
This comprehensive guide covers all vital aspects of roof replacement, from essential terminology to detailed step-by-step processes, material options, and budgeting tips. Whether you're a homeowner considering a new roof or just looking to deepen your knowledge, this article provides valuable insights to help you navigate the entire process efficiently and effectively.
Fundamental Roofing Terms and Project Overview
When planning a roof replacement, familiarity with basic roofing terminology is essential. This knowledge allows you to communicate effectively with contractors, understand proposals, and oversee the project with confidence. Some key terms include:
• "Square" — a standard measurement in roofing, equaling 100 square feet. Understanding this helps you estimate material quantities and costs accurately.
• "Bundles" — shingles are sold in bundles, and multiple bundles are required to cover one square.
• "Roof decking" — the wooden base on which shingles and other roofing materials are installed.
• "Flashing" — metal strips installed to seal around vents, chimneys, and other roof penetrations to prevent water intrusion.
• "Underlayment" — a protective layer, often asphalt felt or synthetic material, applied beneath shingles to provide extra waterproofing.
• "Drip edge" — metal strips installed along roof edges to direct water away from the fascia and into gutters.
Understanding these terms enables you to follow the process and evaluate bids effectively.
The Typical Roof Replacement Process
Replacing a roof generally takes about four days, depending on size and complexity. The process involves several stages, each vital to ensuring a durable and long-lasting result:
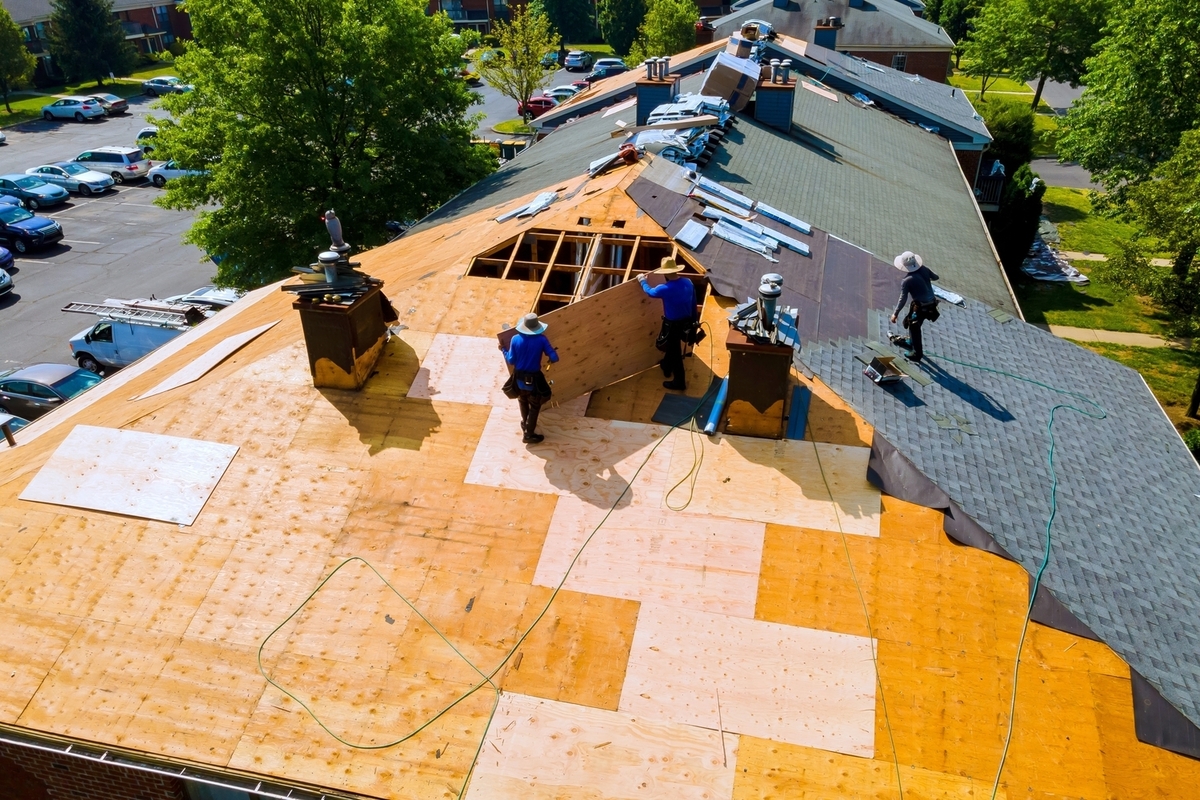
Step 1: Removing Existing Shingles
The old shingles are carefully stripped off, and any damaged materials, nails, or debris are removed. This step prepares a clean surface for new materials and prevents structural issues.
Step 2: Repair and Structural Assessment
At this stage, contractors examine the roof deck for damage. Minor issues, such as replacing damaged boards, can be addressed. However, if the structural components are compromised, a full replacement might be necessary.
Step 3: Installing Ice and Water Barriers
In regions prone to snow and ice, installing waterproof barriers at vulnerable points helps prevent leaks caused by ice dams and melting snow.
Step 4: Applying Underlayment
Asphalt roofing paper or synthetic underlayment is laid over the deck, providing an additional layer of waterproofing and protecting the deck from moisture.
Step 5: Installing Drip Edges and Valey Flashings
Metal drip edges are attached along eaves and rakes to direct water into gutters. Valley flashings are installed at roof valleys to channel water away from seams and prevent leaks.
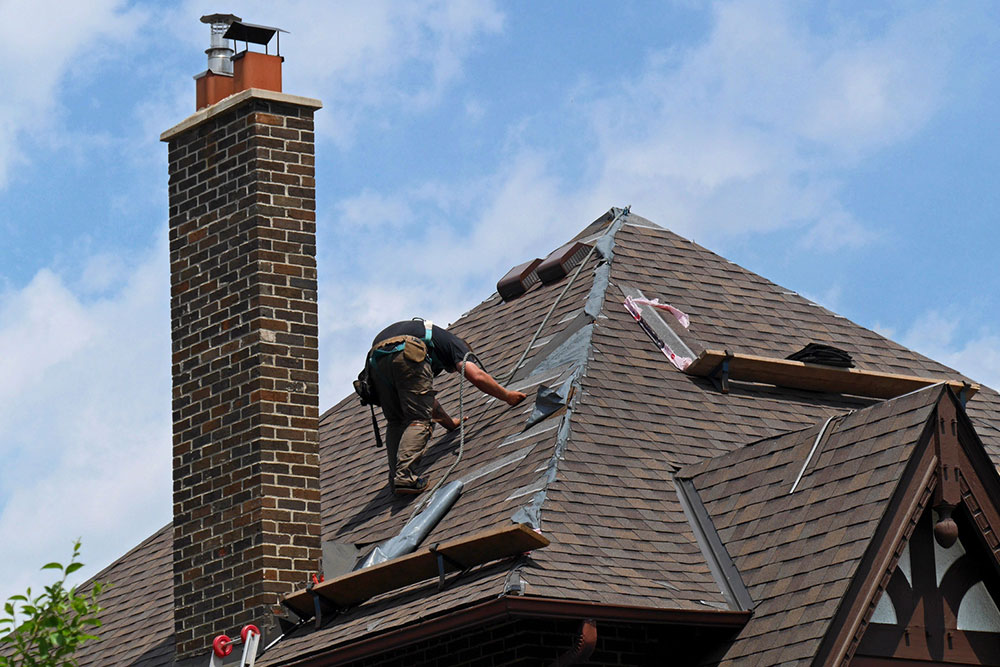
Step 6: Laying Shingles
Starting from the bottom edge (eaves), shingles are installed in overlapping rows, working upward toward the ridge. Proper alignment and nailing are crucial for a weather-tight seal.
Step 7: Flashing around Penetrations
Special flashing is installed around chimneys, vents, skylights, and other protrusions to ensure these vulnerable areas are sealed against water intrusion.
Step 8: Ridge Vent and Ventilation System Installation
Ridge vents and other ventilation components are installed to promote airflow in the attic, which extends roof lifespan and prevents moisture problems.
Step 9: Cleanup and Debris Removal
After the installation, the crew thoroughly cleans the work area, removing all debris, broken shingles, nails, and other materials, leaving your yard neat and safe.
The Key Factors in Selecting Roofing Materials
Choosing the right roofing material depends on geographic location, climate, aesthetic preferences, and budget. Here are some popular options:
Asphalt Shingles
The most common roofing material due to affordability, ease of installation, and versatility. They typically last 20-30 years but offer a variety of styles and colors.
Wood Shingles and Shakes
Known for their natural beauty and durability, wood shingles provide a rustic appearance. They are more expensive and require regular maintenance.
Metal Roofing
Aluminum, steel, and copper options are recognized for their longevity (up to 50 years), fire resistance, and energy efficiency. They involve higher upfront costs but offer long-term savings.
Slate Roofing
Elegant, extremely durable, and fireproof, slate tiles can last over 100 years, but their weight and cost are significant considerations.
Composite and Synthetic Slate
These materials mimic the appearance of natural slate while being lighter and more affordable, often made from recycled materials promoting eco-friendliness.
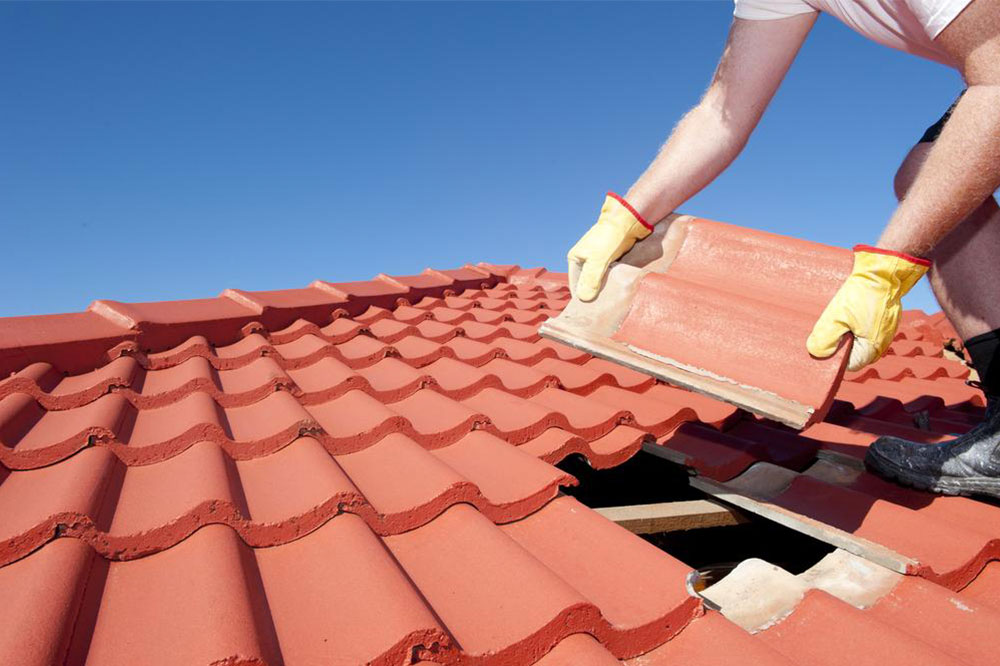
Clay and Terracotta Tiles
Traditional and stylish, these tiles are favored in Mediterranean architecture but are more fragile and costly to install.
Each option has unique advantages and disadvantages, making it essential to assess your specific needs and constraints before choosing a material.
Understanding the Cost of Replacing Your Roof
Budgeting for a roof replacement involves considering factors such as material costs, roof size, labor charges, and regional price differences. Typical costs include:
Asphalt shingles (three-tab): up to $12,000
Architectural (laminate) shingles: approximately $15,000
Metal roofing (steel or aluminum): ranging from $20,000 to $30,000
Slate roofing: around $50,000 and above
Clay or concrete tiles: up to $40,000–$50,000
Rubber (EPDM) membranes: approximately $14,000
PVC or TPO membranes: around $15,000
Wood shingles: roughly $25,000
Timing can also influence costs. Opting for roof replacement during off-peak seasons such as late spring or early fall typically results in lower prices due to less demand and contractor availability.
In conclusion, a thoughtfully planned and executed roof replacement preserves your home’s safety, enhances its curb appeal, and ultimately adds to its value. By understanding the key steps, materials, costs, and maintenance practices involved, homeowners can confidently manage this essential aspect of homeownership and enjoy peace of mind knowing their roof is robust and reliable for years to come.


