DIY Elegant Swag Window Treatments: A Comprehensive Step-by-Step Guide
Learn how to craft beautiful, budget-friendly swag window treatments with this detailed DIY guide. From measuring to hanging, discover step-by-step instructions to add a sophisticated touch to your home decor using simple materials and creative techniques. Perfect for DIY enthusiasts aiming for elegant and personalized window dressings.
DIY Elegant Swag Window Treatments: A Comprehensive Step-by-Step Guide
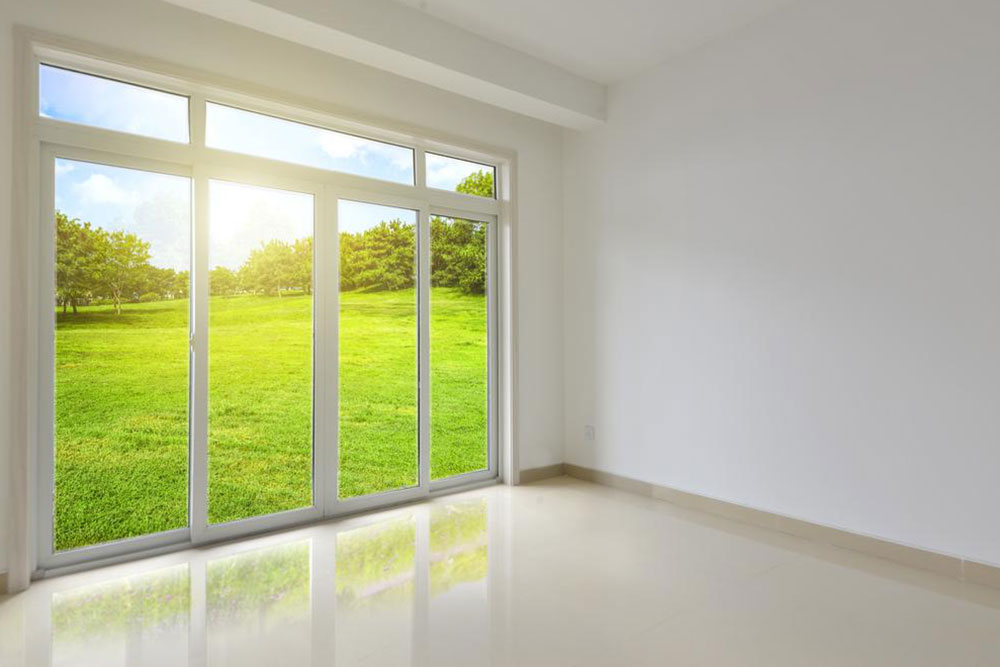
Window dressings play a vital role in defining a room's ambiance and architectural style. Swag window treatments, in particular, offer a sophisticated and charming aesthetic that can transform any space from ordinary to extraordinary. However, high-quality swag curtains and valances often come with a hefty price tag, which can put them out of reach for many homeowners looking to decorate on a budget. The good news is that creating your own elegant swag window treatments at home is not only feasible but also rewarding, allowing you to customize designs to suit your personal style, space, and color scheme.
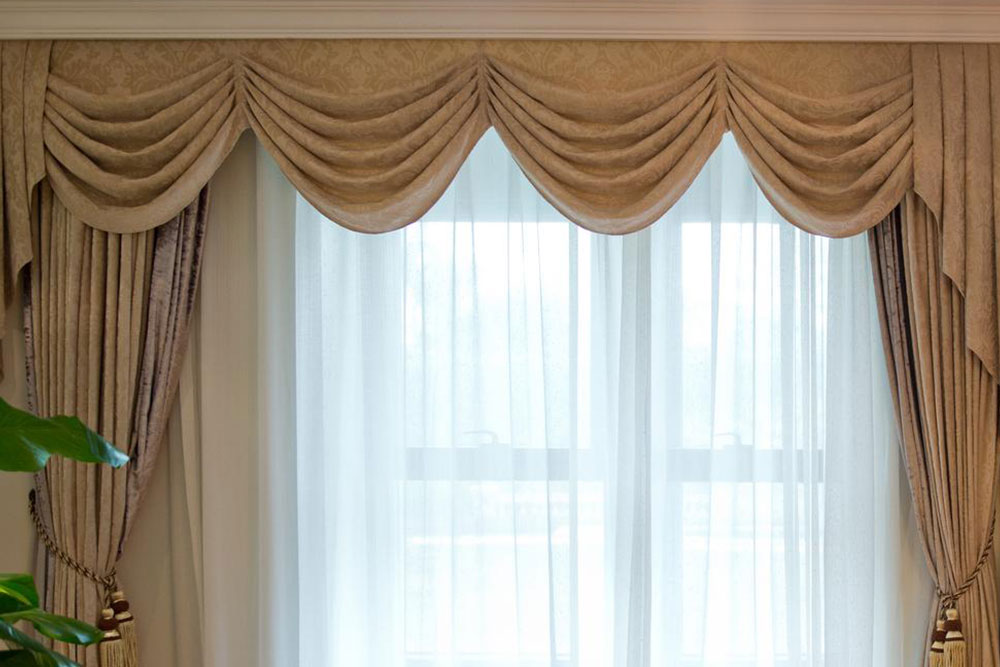
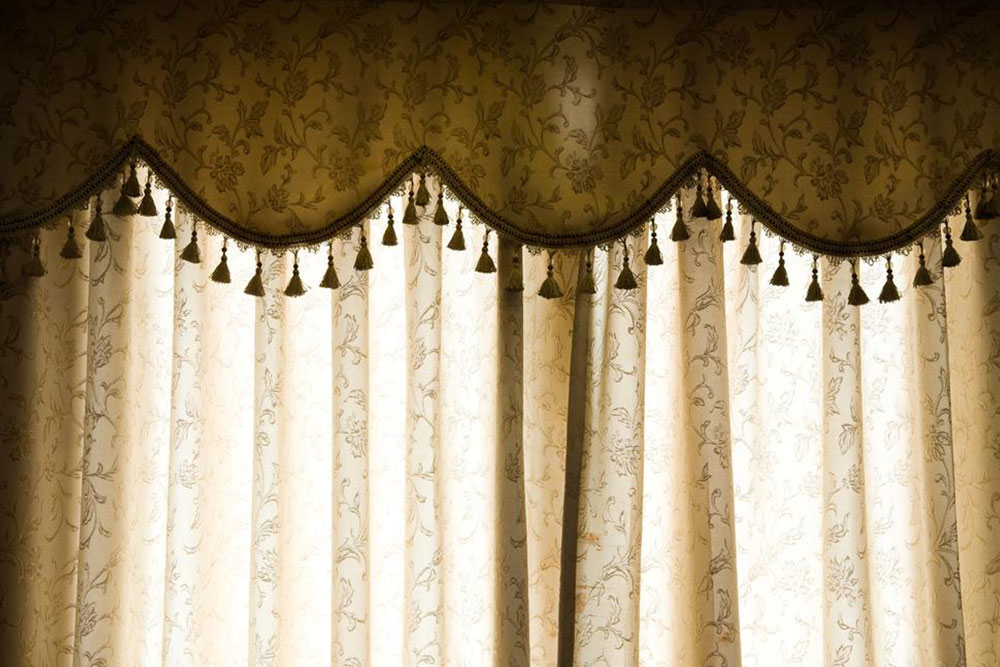
Swag valances come in various designs, ranging from minimalistic drapes to ornate and luxurious fabrics that can emulate the look of high-end designer curtains. Among these options, the scarf valance style stands out for its simplicity and timeless elegance. It requires minimal sewing skills and can be fashioned from a variety of fabrics—including silk, linen, velvet, or cotton—making it a versatile choice for any home decor theme.
In this guide, we will explore in detail how to craft a classic scarf swag valance using straightforward steps. Whether you want a bold statement piece that puddles on the floor or a subtle, understated treatment that complements your room’s decor, this tutorial has you covered. With some basic tools, your favorite fabric, and a little patience, you'll be able to create a stunning window treatment that adds a touch of class and personality to your living space.
Before diving into the project, it's essential to plan your window measurements carefully. The size of your swag depends on your aesthetic preferences and the scale of your windows. For a dramatic, luxurious look, choose longer fabric lengths that puddle softly at the floor. Alternatively, for a more understated design, opt for a shorter swag that gracefully drapes over the window frame without overwhelming the space. Complementting your fabric choice with wall colors and prints can further enhance the overall harmony of your interior design.
Creating a swag window treatment elevates your room’s décor with minimal effort and cost. To achieve a cohesive and polished appearance, consider using monochromatic color schemes that align with your existing wall art and furniture. Elegant folds, gentle pleats, and carefully secured knots can make all the difference in producing an upscale look. Here are detailed steps to help you craft a beautiful scarf swag that fits your window perfectly.
Materials Needed
Fabric (choose a fabric that complements your room’s color palette; ensure it’s at least twice the width of your window)
Measuring tape, scissors, sewing pins, and a sewing machine (or fabric glue for a no-sew option)
Decorative ribbon or trim (optional, for added elegance)
Scarf hooks or eyelets for hanging
Fabric chalk or a fabric marking pen
Iron and ironing board
Needle and thread (if hand-sewing)
Step 1: Measure Your Window
Start by accurately measuring your window's width and height, including the areas just beyond the window frame where you want the swag to hang. For a full, opulent look, measure the width to be at least 1.5 to 2 times the width of the window to create pleats or gathering. The length of the fabric should be sufficient to allow for the desired puddling or flowing effect at the bottom. Mark these measurements carefully, as precision will ensure the swag looks balanced and professional.
Step 2: Select and Prepare Your Fabric
Based on your measurements, purchase enough fabric for your project. For instance, for a standard 30 x 60-inch window, around 2 yards of fabric with a width of 44-54 inches is suitable. To create a seamless look, cut the fabric in half lengthwise and sew the two pieces together to achieve a wider panel if needed. Press the fabric thoroughly with an iron to remove creases and prepare for folding and sewing.
Step 3: Find the Center and Mark Pleats
Identify the center of the fabric panel perpendicular to the rod area, marking it with pins or fabric chalk. This helps in arranging the fabric evenly over your curtain rod. To add elegant pleats or gathers, fold the fabric inward at regular intervals—about 4 to 6 inches apart—and secure these pleats with pins. This step ensures a consistent flow and a professional appearance once hung.
Step 4: Create the Swag Shape
Drape the fabric over your curtain rod, adjusting the pleats or folds to achieve the desired shape. For extra visual interest, you can create a gentle curve by adjusting the fabric’s tension and pinning it in place. To maintain the swag’s form, you may sew a few discreet stitches or use fabric clips. For a softer, more flowing look, avoid tightening the pleats too much, allowing the fabric to puddle slightly at the bottom.
Step 5: Finish the Ends and Add Decorative Touches
At each end of the fabric, create a neat knot by wrapping and securing the fabric around the curtain rod, leaving a slight tail for an elegant finish. To enhance your swag’s aesthetic, tie a decorative ribbon or fabric bow at each end. Alternatively, sew or glue a trim or fringe for added texture and detail. Make sure the fabric is secured enough to hold the shape but not so tight as to distort the flow or pleats.
Step 6: Hanging Your Swag Valance
Attach scarf hooks or eyelets to your window frame, placing them a few inches beyond each side of the window to avoid crowding. Lay the fabric flat and measure carefully to ensure equal length and even distribution on both sides. Hang the swag, with the backside facing the window glass—this orientation accentuates the flow and hides the hooks. Adjust the fabric to create soft, flowing folds at the center, ensuring a balanced and polished look from both inside and outside the room.
Additional Tips for a Perfect Swag
Choose lightweight, flowing fabrics like silk or chiffon for a delicate, elegant effect. For more structure, heavier fabrics like velvet or brocade can be used.
Experiment with different pleat sizes and arrangements to customize the fullness and flow of your swag.
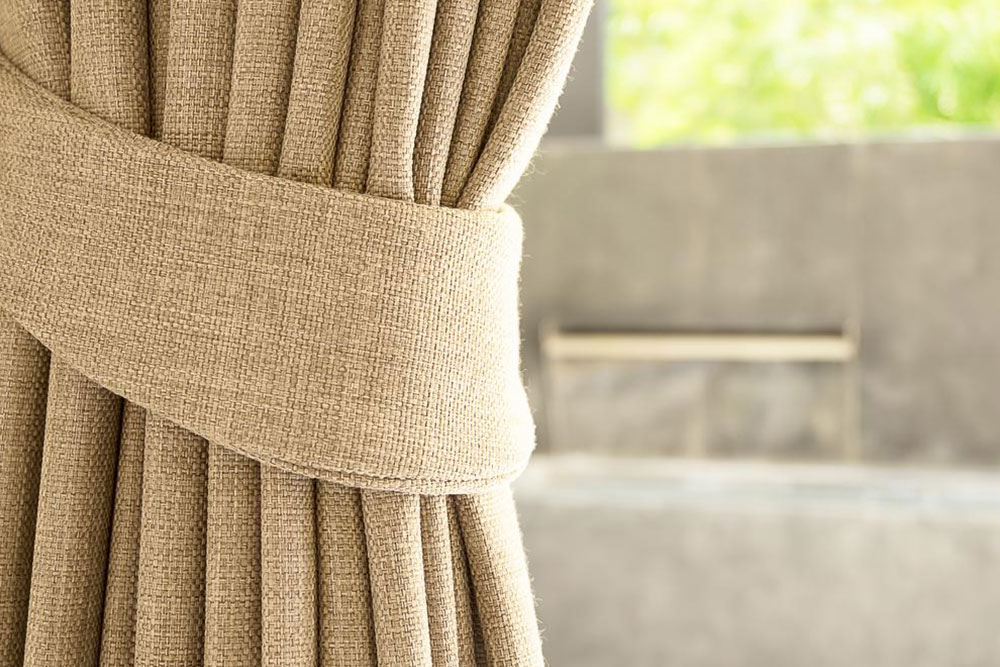
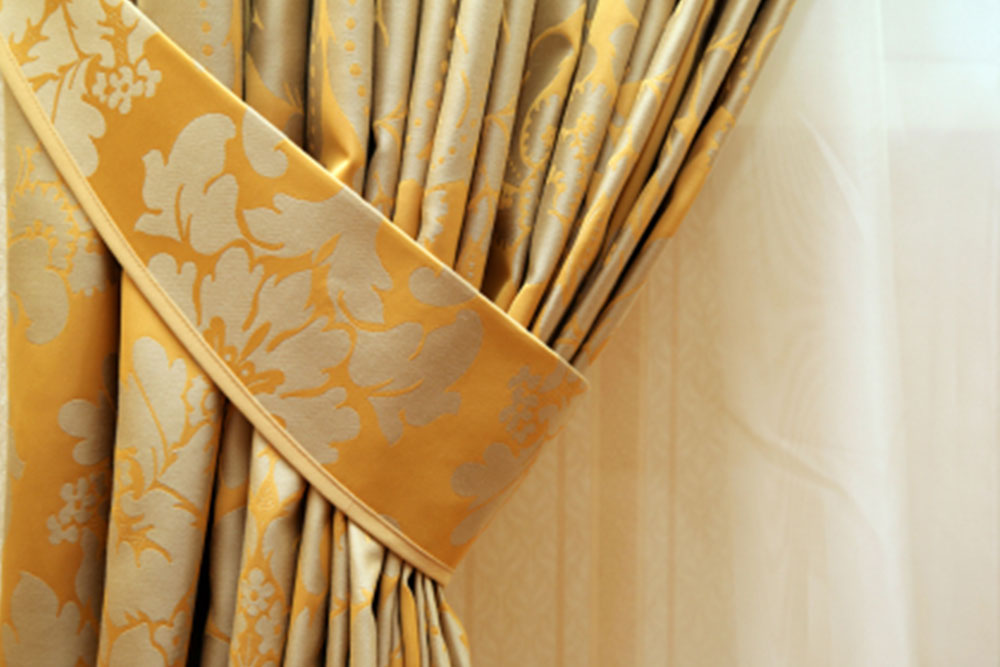
Use decorative tiebacks or holdbacks for a different styling option, especially if you want to open up your window to sunlight during the day.
Ensure the hooks and hardware you select are sturdy and capable of supporting the fabric's weight, especially if using heavier textiles.
Benefits of DIY Swag Window Treatments
Creating your own swag window treatments offers numerous advantages beyond cost savings. It allows for complete customization, ensuring the fabric, color, and length match your existing decor perfectly. DIY projects also add a personal touch and sense of accomplishment, making your home more inviting and unique. Moreover, sewing your own drapes enables you to select environmentally friendly and high-quality fabrics, avoiding unnecessary chemicals or dyes often found in mass-produced curtains. Not to mention, it’s a fun, creative activity that can be shared with friends and family.
Final Thoughts
Designing and crafting your own elegant swag window treatments is a simple yet impactful way to elevate your home decor without breaking the bank. Whether you prefer a classic, flowing style or something more modern and minimalistic, the steps outlined above serve as a comprehensive guide to creating beautiful DIY curtains that reflect your personal style. With patience and creativity, you’ll gain a functional and decorative feature that enhances your space and showcases your craftsmanship. So gather your materials, measure carefully, and start crafting your custom swag to bring an elegant touch to your windows today!