Comprehensive Guide to Upgrading Your Outdoor Exterior Doors for Improved Home Curb Appeal
Upgrade your home's exterior doors with this detailed, step-by-step guide. Learn how to choose the right door, measure accurately, remove and replace the old door, and finish with professional-looking results. Improve security, curb appeal, and energy efficiency easily with these simple tips suitable for DIY enthusiasts and homeowners looking to enhance their property's value. Comprehensive and practical, this guide ensures a smooth installation process from start to finish.
Comprehensive Guide to Upgrading Your Outdoor Exterior Doors for Improved Home Curb Appeal
Enhancing your home's exterior by upgrading your outdoor doors can significantly boost curb appeal and increase property value. Whether you're looking to improve security, durability, or aesthetic appeal, replacing an aging or outdated exterior door is a practical project that can be accomplished with some basic tools and careful planning. The good news is that you don't need to be a professional carpenter to handle this upgrade—modern preassembled door kits simplify the installation process, making it accessible for homeowners with moderate DIY skills. This comprehensive guide walks you through each essential step to ensure a smooth and successful door replacement, emphasizing safety, precision, and choosing the right materials to match your home’s style and needs.
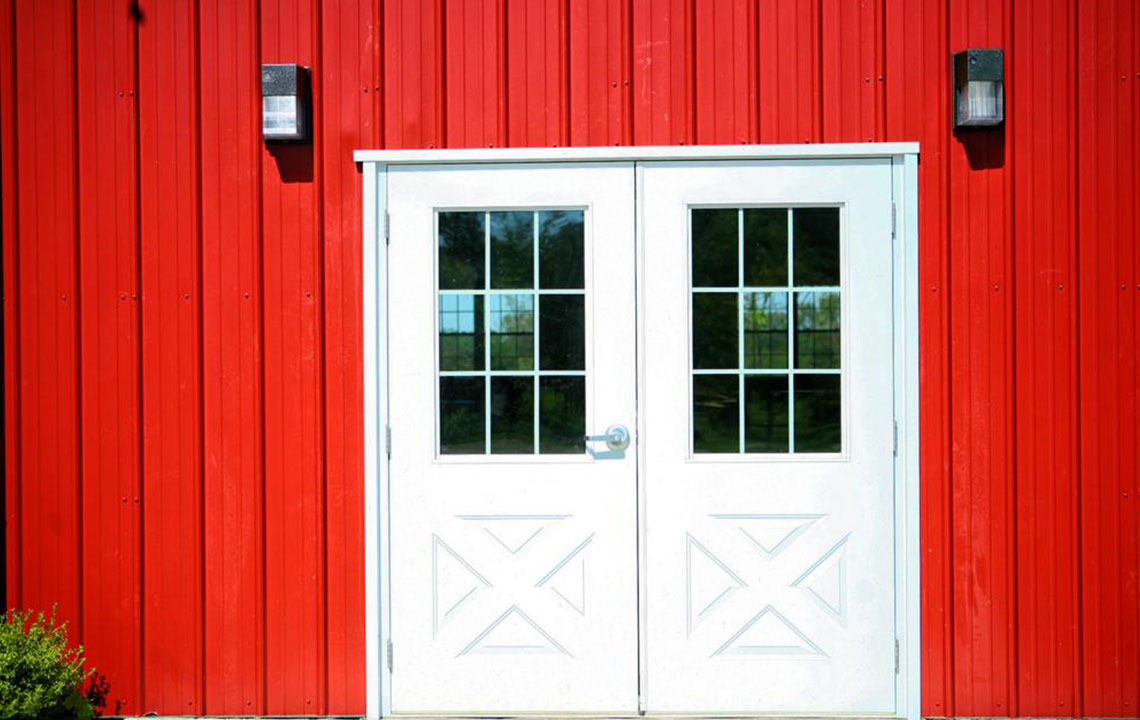
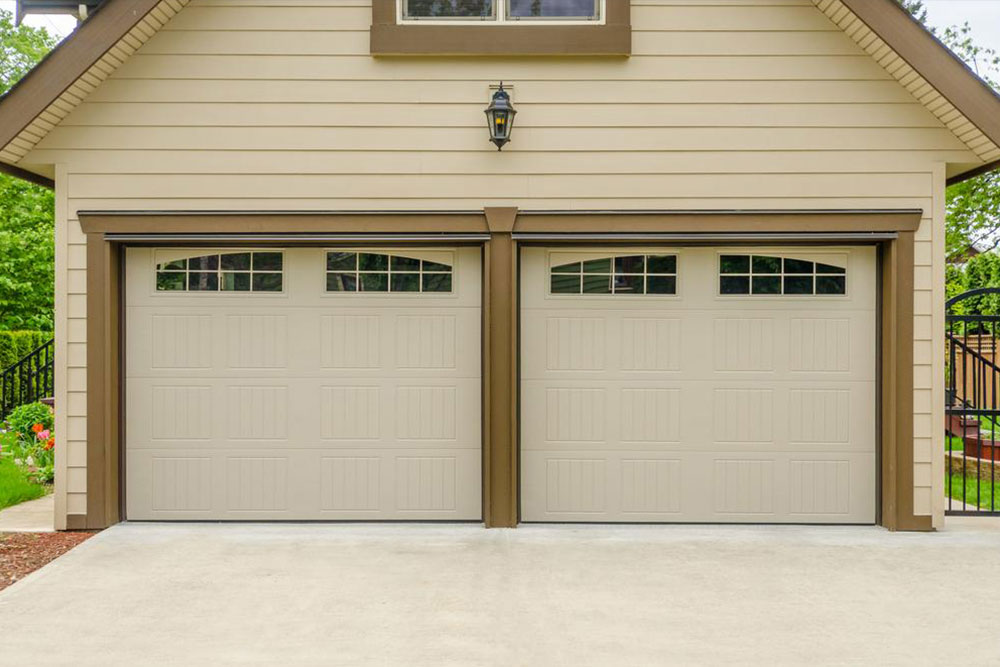
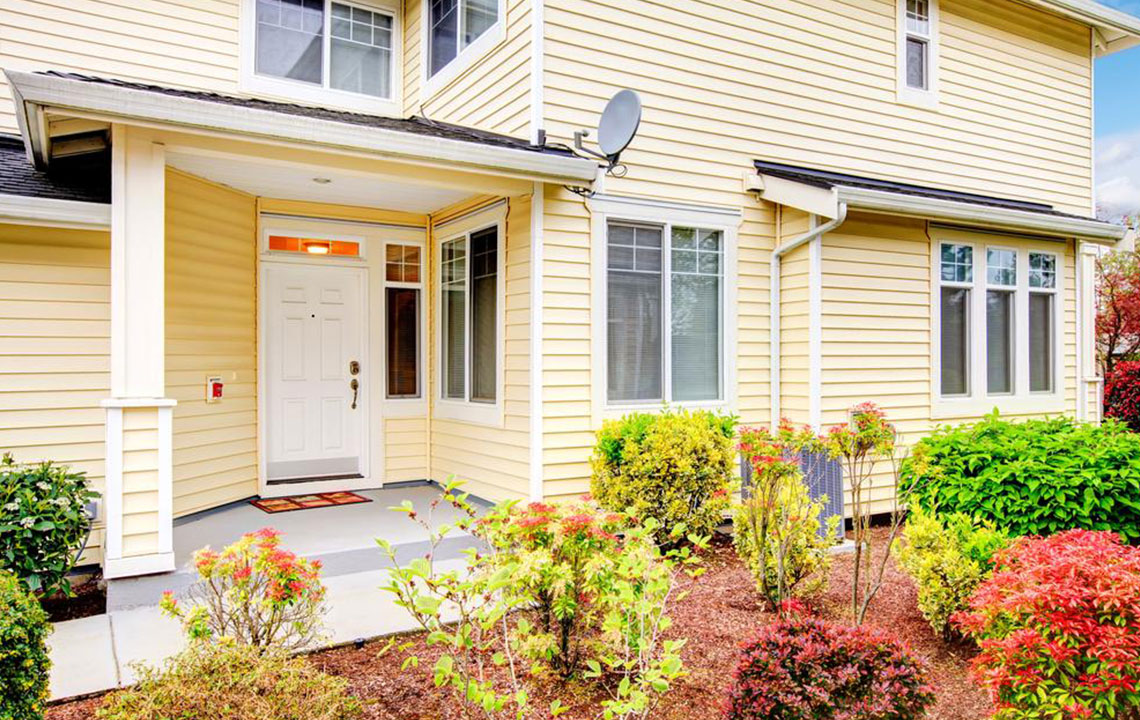
Choosing the Right Door: Select a high-quality, prehung exterior door made from materials that suit your climate and personal preferences. Common options include steel doors, known for affordability and low maintenance; fiberglass doors, which offer excellent resistance against warping, cracking, and rotting; and elegant wooden doors that provide a traditional aesthetic but require regular upkeep. Consider the style, color, and hardware to ensure it complements your home's exterior design for a cohesive look.
Measuring for a Perfect Fit: Accurate measurements are critical to avoiding costly modifications later. Measure the height and width of your existing door, including the door jamb and rough opening. Verify the thickness of the door and the width of the jamb to select a compatible replacement. Record these measurements carefully using a tape measure and double-check for consistency. If your door frame has any damage or rot, it’s advisable to repair or replace the framing before installing the new door.
Removing the Old Door: Begin by carefully removing the existing door with basic tools such as a screwdriver, pry bar, and hammer. Remove the hinges by unscrewing or prying them loose, being gentle to avoid damaging surrounding trim if it’s to be reused. Clear away any debris and inspect the condition of the door frame and sill for signs of damage or deterioration. Repair or reinforce these areas as necessary to ensure a secure and level installation for your new door.
Inspecting and Preparing the Frame: Examine the existing door frame and threshold for damage, warping, or rot. Replace compromised wood or reinforce structures to ensure stability. Adjust the sill height and levelness as needed. Protect the sill from water intrusion by sealing seams and applying a waterproof coating if necessary. Proper preparation of the frame and sill is vital for the longevity and insulation efficiency of your new exterior door.
Installing Your New Door: Position the new prehung door in the opening to verify fitment. Use shims to align the door vertically and horizontally for a snug, even fit. Trim siding, casing, or stops as necessary to accommodate the new door’s dimensions. Apply a bead of caulk along the sill and behind the casing to seal gaps and prevent water infiltration. Secure the door with nails or screws through the jamb into the framing. Once secured, fill any remaining gaps with expanding foam insulation to improve energy efficiency. Finish by painting or staining the door and trim, enhancing both appearance and durability. If you’re working on a new construction, prehung doors are generally ideal, but custom sizing may be required when standard options don’t match your measurements perfectly.
Final Touches and Maintenance: After installation, check the operation of the door—opening, closing, and locking mechanisms—to ensure smooth functionality. Reinstall any hardware like handles, locks, and decorative fixtures. Regular maintenance such as cleaning, sealing, and inspecting hardware will extend the lifespan of your new door. These steps not only improve curb appeal but also enhance your home's security and energy efficiency.
Upgrading your outdoor exterior doors is a rewarding project that can dramatically transform your home's look and functionality. By selecting suitable materials, taking precise measurements, and carefully installing your new door, you can enjoy a more secure, attractive, and energy-efficient entryway. Whether you’re upgrading for aesthetic reasons or practical ones like durability and insulation, this detailed guide provides all the necessary insights to help you succeed. Remember, the key to a flawless installation lies in preparation and patience, ensuring your home’s exterior remains inviting and protected for years to come.