Comprehensive Guide to Creating Personalized Wall Decals for Your Home
Discover an in-depth, beginner-friendly guide to creating personalized wall decals that elevate your home decor. Learn about materials, design tips, digital and manual methods, and application techniques to craft stunning, custom stickers that reflect your style and personality. Transform your walls with creative DIY projects that are easy, affordable, and highly customizable, perfect for any room in your house.
Step-by-Step Process to Design Your Custom Wall Stickers
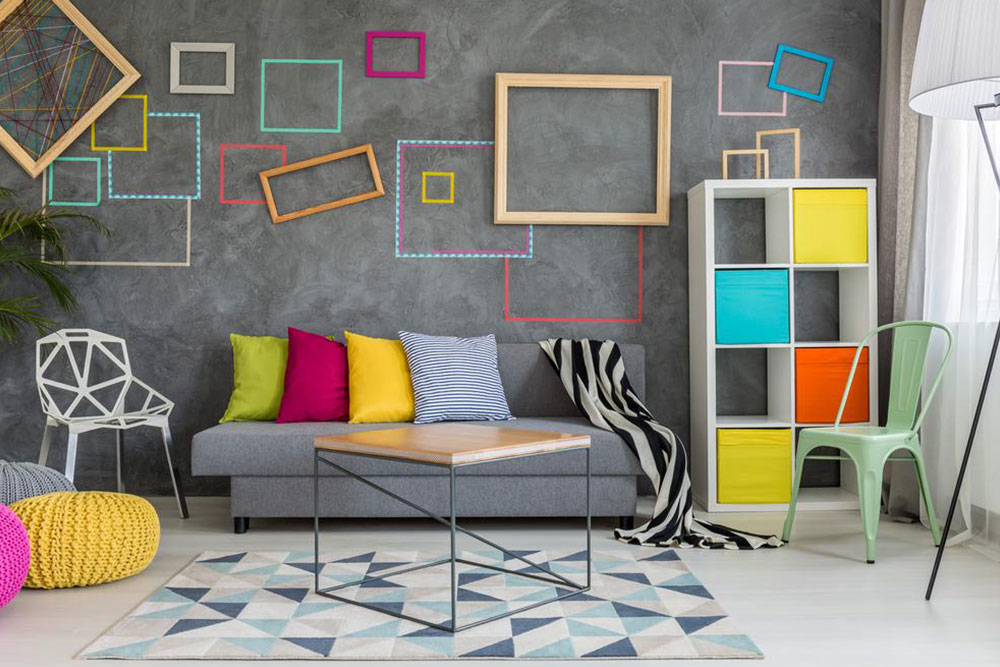
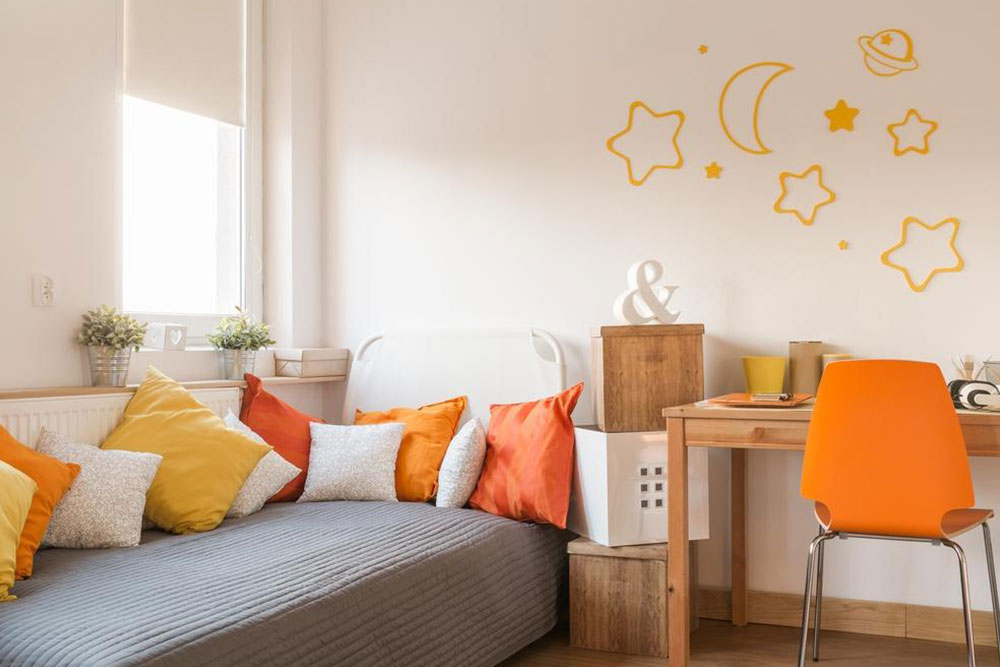
Decorating your living space with wall decals, also known as wall stickers, wall tattoos, or vinyl decals, has become an increasingly popular way to add personality and charm to any room. These decorative elements are versatile, easy to apply, and can significantly enhance the aesthetic appeal of your home. Whether you want to add a motivating quote, playful images for a child's room, or elegant patterns for your living space, wall decals offer endless possibilities for customization.
While a plethora of pre-made wall decals are available online and in retail stores, sometimes they do not perfectly capture your unique style or the specific atmosphere you're trying to create. Creating your own custom wall decals provides the freedom to design exactly what you envision. This DIY approach not only ensures a truly personalized decoration but also gives you an enjoyable creative experience. Plus, designing your decals can be cost-effective and allows you to experiment with different styles, colors, and shapes to match your interior theme.
An Easy Guide to Creating Your Own Wall Decals:
Making personalized wall decals involves several steps, from conceptualizing your design to the final application on your wall. Various methods exist, including hand drawing, digital designing, and using printable materials like vinyl or contact paper. This comprehensive guide aims to walk you through each step, offering tips and tricks for achieving professional-looking results.
Supplies Needed: To start designing your custom wall decals, gather the following materials:
Pencils and felt-tip markers for sketching
Plain white paper or packing paper for tracing
Graphic editing software (such as Adobe Illustrator, Photoshop, or free alternatives like Canva)
Printable adhesive vinyl or contact paper
Newspapers or protective sheets for workspace
Sharp scissors or craft knives
A printer (laser or inkjet)
Once you have your supplies ready, you can begin the creative process.
Step 1: Sketch Your Design
Start by sketching your ideas on plain or packing paper. Use pencils for easy adjustments and felt-tip markers for bold outlines. If you’re confident in your drawing skills, you can create freehand designs; otherwise, you might want to use stencils for more precise shapes. It’s helpful to draw multiple versions to compare and choose the best one for your wall.
Step 2: Digital Design
If you prefer a more polished look or want to incorporate specific images, digitize your sketches by scanning them into your computer. Use graphic design software to enhance your design, experiment with colors, fonts, and layout. Digital designing also allows for easy resizing and duplication, which is useful if you want multiple decals or a consistent theme across your wall.
Step 3: Prepare Your Decal Material
Once your digital design is complete, print it on adhesive vinyl or contact paper. For larger decals, you might need to print in sections and assemble them on the wall. Carefully cut out your decal shape using sharp scissors or a craft knife, ensuring clean edges for a professional appearance.
Step 4: Transfer and Apply
Peel off the backing of your decal material and carefully position it on your wall. Use a squeegee or credit card to smooth out air bubbles and ensure proper adhesion. Take your time aligning the decal to avoid distortions or misplacements.
Pro Tips for Best Results:
Use sharp scissors for precise cuts.
Test your design on a piece of scrap wall or paper before applying it permanently.
Measure your wall space carefully and plan your layout beforehand.
Consider using painter’s tape to temporarily position your decal during application.
By following these steps, you can create beautiful, personalized wall decals that perfectly match your interior decor and reflect your personality. The process allows for creative freedom and offers a cost-effective way to transform your home.
Remember, patience and precision are key to achieving the best results. Whether you choose to design digitally or by hand, your customized wall decals will add a unique touch to your living environment, making your space truly one of a kind.