Comprehensive 5-Step Method for Brewing Fresh Coffee with Keurig Coffee Makers
Discover an easy and comprehensive 5-step method to brew fresh, flavorful coffee using Keurig machines. This guide covers everything from setup and cleaning to brewing perfect cups, ensuring a delightful coffee experience every morning. Learn tips for maintaining your Keurig and selecting the right model to suit your lifestyle, whether for home or office use. Start your day with freshly brewed coffee quickly and effortlessly with this detailed step-by-step guide that makes coffee brewing both simple and enjoyable.
Step-by-Step Guide to Brewing Fresh Coffee at Home Using Keurig Machines
In recent years, Keurig coffee makers have become an essential appliance for many households and office environments, appreciated for their convenience and reliability. The appeal of Keurig machines lies in their straightforward operation, quick brewing process, and the ability to produce a perfect cup of coffee in minutes. They are versatile devices available in many models tailored to fit different needs, from single-serve options for personal use to larger units suitable for offices. Whether you're a casual coffee drinker or a connoisseur seeking the freshest brew every morning, choosing the right Keurig model can enhance your coffee experience. Prices vary significantly across models, with budget-friendly options typically costing less than $100, while high-end models may exceed $500. No matter your budget, there are always attractive deals and discounts available during sales, making it easier to invest in a quality coffee machine that offers both convenience and excellent taste.
Operating a Keurig coffee maker is remarkably simple across all models, streamlining your daily coffee routine. By following these detailed five steps, you can ensure each brew is fresh, flavorful, and satisfying:
Step 1: Connecting and Preparing Your Keurig
Begin by plugging your Keurig machine into a reliable power source. Carefully lift the water reservoir from the main unit if it is designed to be detachable. This step is crucial because it facilitates easy filling and cleaning. For models like the K15, where the reservoir is built-in and non-removable, you should pour water directly into the designated compartment — be sure not to overfill to prevent spills or malfunctions.
Step 2: Filling and Cleaning the Water Reservoir
Next, clean the removable water reservoir thoroughly under running tap water to eliminate any residues or impurities. Fill it with fresh, clean water up to the indicated fill line, ensuring not to overfill. Reattach the reservoir securely onto the Keurig machine, making sure it clicks into place. Replace the lid properly, as this helps maintain the optimal temperature and prevents spillage during brewing. Regular cleaning of the water reservoir is essential for maintaining the flavor quality of your coffee and prolonging the lifespan of your machine.
Step 3: Running a Pre-Brew Cleaning Cycle
Before your first brew of the day, it's highly advisable to run a cleaning cycle to clear out any dust, manufacturing residues, and impurities that might have accumulated. Fill the reservoir with fresh water and perform an initial brew without inserting a coffee pod. Discard this hot water, as it serves to rinse internal components and heat pipes. Repeat this process if necessary until the water runs clear, ensuring your machine is primed for optimal coffee brewing. This step not only guarantees a cleaner brew but also prolongs the health of your Keurig device.
Step 4: Preparing Your Coffee Pod and Initiating Brewing
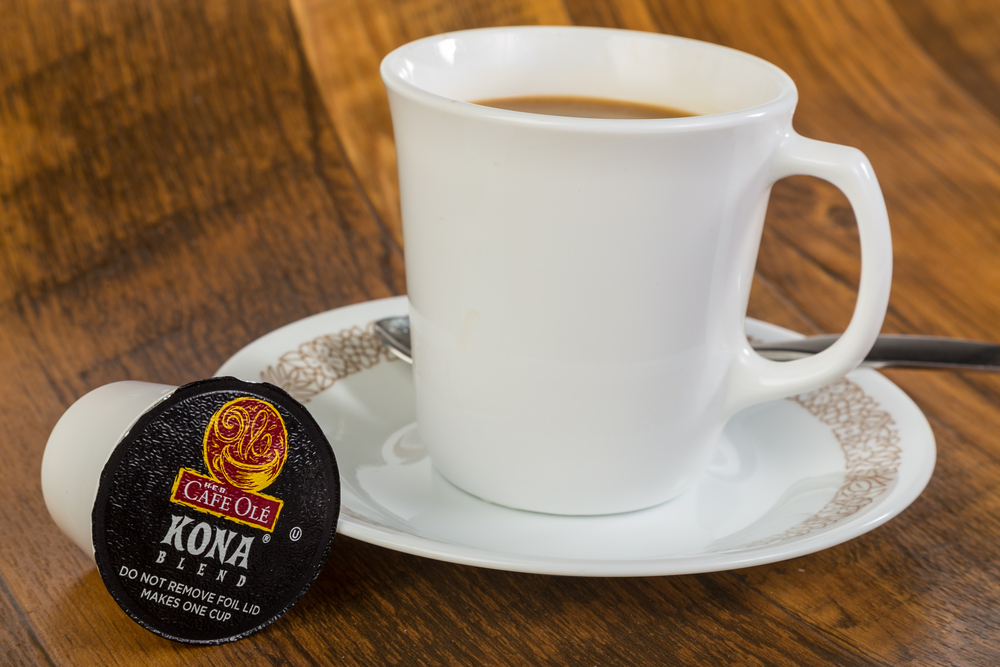
Select your preferred K-cup or coffee pod, making sure to keep the foil lid intact. Insert it into the pod holder, which is designed to puncture the foil seal during brewing. The Keurig’s mechanism forces hot water through the coffee pod using pressure, extracting maximum flavor in a matter of seconds. Ensure the pod is securely positioned and centered in the holder to avoid any mess or malfunction during the process.
Step 5: Customizing and Completing Your Coffee Brew
Close the lid of the pod compartment gently but firmly. Depending on your Keurig model, you may have options to select brew size and strength – choose according to your preference. Once you press the brew button, your machine will start the brewing process, which typically takes between 50 seconds to two minutes. During this time, hot water is forced through the coffee pod, producing a rich, aromatic cup of coffee. After brewing, carefully remove the used pod, dispose of it properly, and enjoy your freshly brewed coffee. Regular maintenance, including descaling and cleaning, is recommended to keep your Keurig functioning efficiently and to maintain the high quality of each brew.