Comprehensive Guide to Essential Refrigerator Spare Parts and Maintenance
This comprehensive article provides an in-depth guide on essential refrigerator spare parts, including humidity-control drawers, interior light switches, and door closing cams. It explains their functions and offers step-by-step instructions for DIY replacements. Regular maintenance helps prolong your refrigerator's lifespan, improve efficiency, and prevent costly repairs. The article is suitable for homeowners and appliance repair enthusiasts seeking practical tips for keeping their refrigerators in top condition.

A household refrigerator is an indispensable appliance in modern kitchens, designed to preserve food freshness and prevent spoilage. As a complex electronic device, refrigerators consist of various components that may sometimes require replacement due to wear, damage, or malfunction. Understanding which spare parts are essential and how to replace them can significantly extend the lifespan of your refrigerator, improve its efficiency, and save you money on repairs. This comprehensive guide covers key refrigerator spare parts that you should be familiar with, providing insights into their functions and replacement procedures.
Refrigerators are made up of numerous components, but focusing on the most commonly replaced parts can make maintenance simple and manageable for homeowners. Whether you’re dealing with a faulty light, a malfunctioning humidity control drawer, or a door sealing issue, knowing what parts are available and how to replace them is key to keeping your appliance running smoothly.
Essential Refrigerator Spare Parts Every Homeowner Should Know
Maintaining your refrigerator's performance starts with understanding its critical components. Here are some of the most important spare parts that you may need to replace over time:
Humidity-Control Drawer
The humidity-control drawer, often situated at the bottom of the refrigerator compartment, is vital for storing fresh produce such as fruits and vegetables. This plastic drawer helps regulate moisture levels, maintaining an optimal environment to keep perishable items fresh longer. Over time, these drawers may crack, warp, or become difficult to slide due to frequent use. Replacing this part is relatively simple and can be done without specialized tools in approximately 15-20 minutes. Simply remove the old drawer, insert the new one, and ensure it slides smoothly. The replacement process is straightforward because these drawers are usually made of clear, durable plastic and are designed for easy handling.
Interior Light Switch
The interior light switch is an essential component that controls the refrigerator’s illumination. It triggers the interior light to turn on when you open the door and off when you close it. If you notice that the light remains off even when the door is open, or if it flickers irregularly, the switch might need replacement. The switch is typically a plastic component connected to the door frame. Replacing it requires only basic tools such as a flat-head screwdriver and needle-nose pliers. Disconnect the power supply, remove the old switch carefully, and install the new one. Restoring proper lighting is a quick fix that enhances visibility inside your fridge, making it easier to find items, especially in low-light conditions.
Lower Door Closing Cam
Situated on the freezer door, the lower door closing cam plays a crucial role in ensuring the door opens and closes smoothly and seals tightly to prevent cold air from escaping. Over time, wear and tear can cause the cam to become misaligned or damaged, resulting in door leaks, difficulty opening or closing, or improper sealing which affects the refrigerator’s efficiency. Replacement involves using a nut driver and flat-head screwdriver. Before beginning, always disconnect the refrigerator from power to ensure safety. Remove the damaged cam, typically attached with screws or clips, and install the new component. Properly aligned, a new door closing cam improves door functionality and helps maintain optimal temperature control within the appliance.
DIY Refrigeration Maintenance: How to Replace Common Parts
Replacing refrigerator parts at home is often a manageable task that anyone with basic mechanical skills can undertake. With the right tools and a little patience, you can troubleshoot and fix common issues yourself, saving on costly professional repairs. Here are general tips for replacing parts:
Always disconnect the refrigerator from the power source before attempting any repairs.
Gather all necessary tools beforehand, such as screwdrivers, pliers, and replacement parts.
Consult your refrigerator’s user manual for specific instructions and part compatibility.
Handle plastic components carefully to avoid cracking or damaging them during removal or installation.
After replacing parts, test the refrigerator to ensure proper operation before restoring full use.
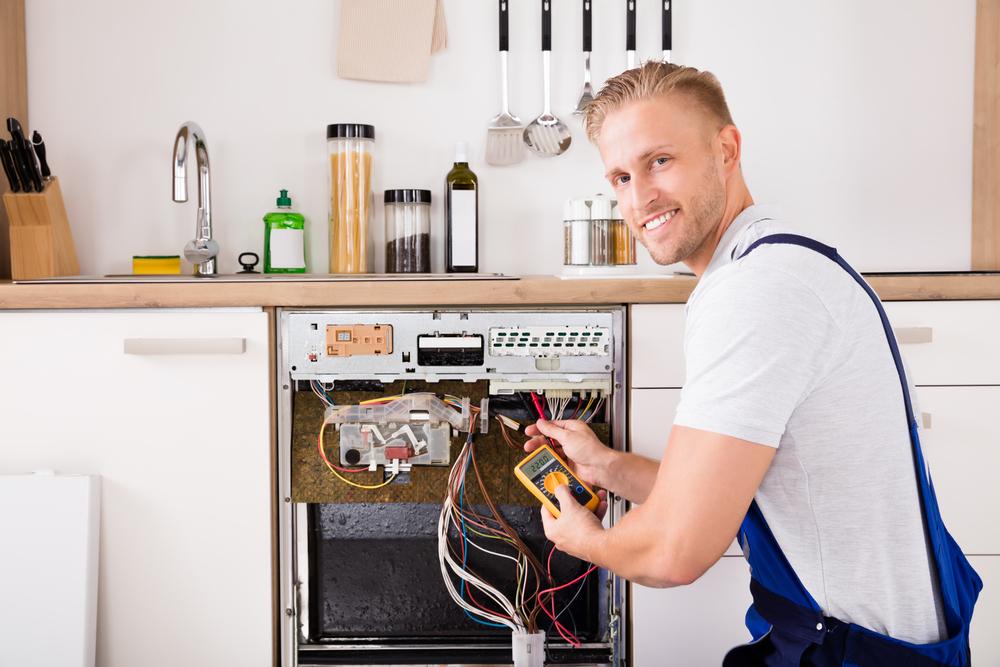
When to Call a Professional
While many small repairs can be handled by the homeowner, certain issues may require professional attention. If you experience persistent problems such as continuous cooling failures, refrigerant leaks, or electrical malfunctions, it’s advisable to contact a certified technician. Proper diagnosis and repairs are essential to prevent further damage and ensure safety.
In conclusion, understanding the key spare parts of your refrigerator and knowing how to replace them can significantly enhance your appliance’s longevity and performance. Regular maintenance and prompt repairs are vital for preventing costly breakdowns and ensuring your refrigerator continues to serve your household efficiently for years to come.